
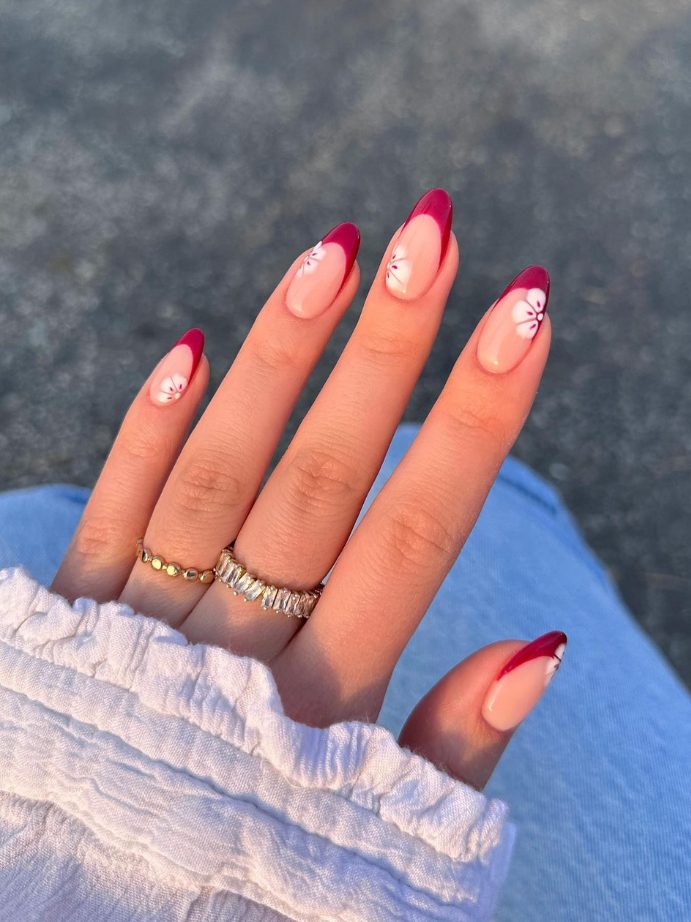
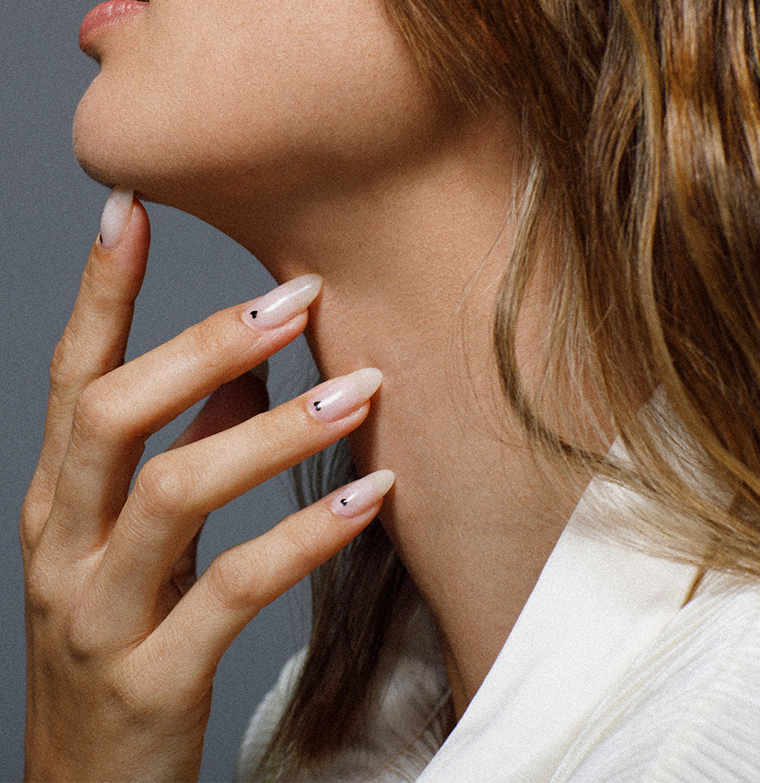
The Gritty Pretty Guide To Nailing Your Next Manicure
Easy peasy lemon squeezy.
We don’t know about you, but we’re approximately 67% more productive at work after a manicure. There’s just something about freshly polished nails that makes you feel like you have your life together. Need that report tomorrow? Sure thing Karen. Deadline moved forward? No worries Daisy, we’ll go ahead and file that right now.
While a visit to the nail salon is always a good time, for the budget- and time-conscious, this option isn’t always available. No matter. With the help of a few choice products, it’s possible to get a salon standard manicure at home. Here, the Gritty Pretty guide to nailing your next manicure:
Step 1: Clean slate
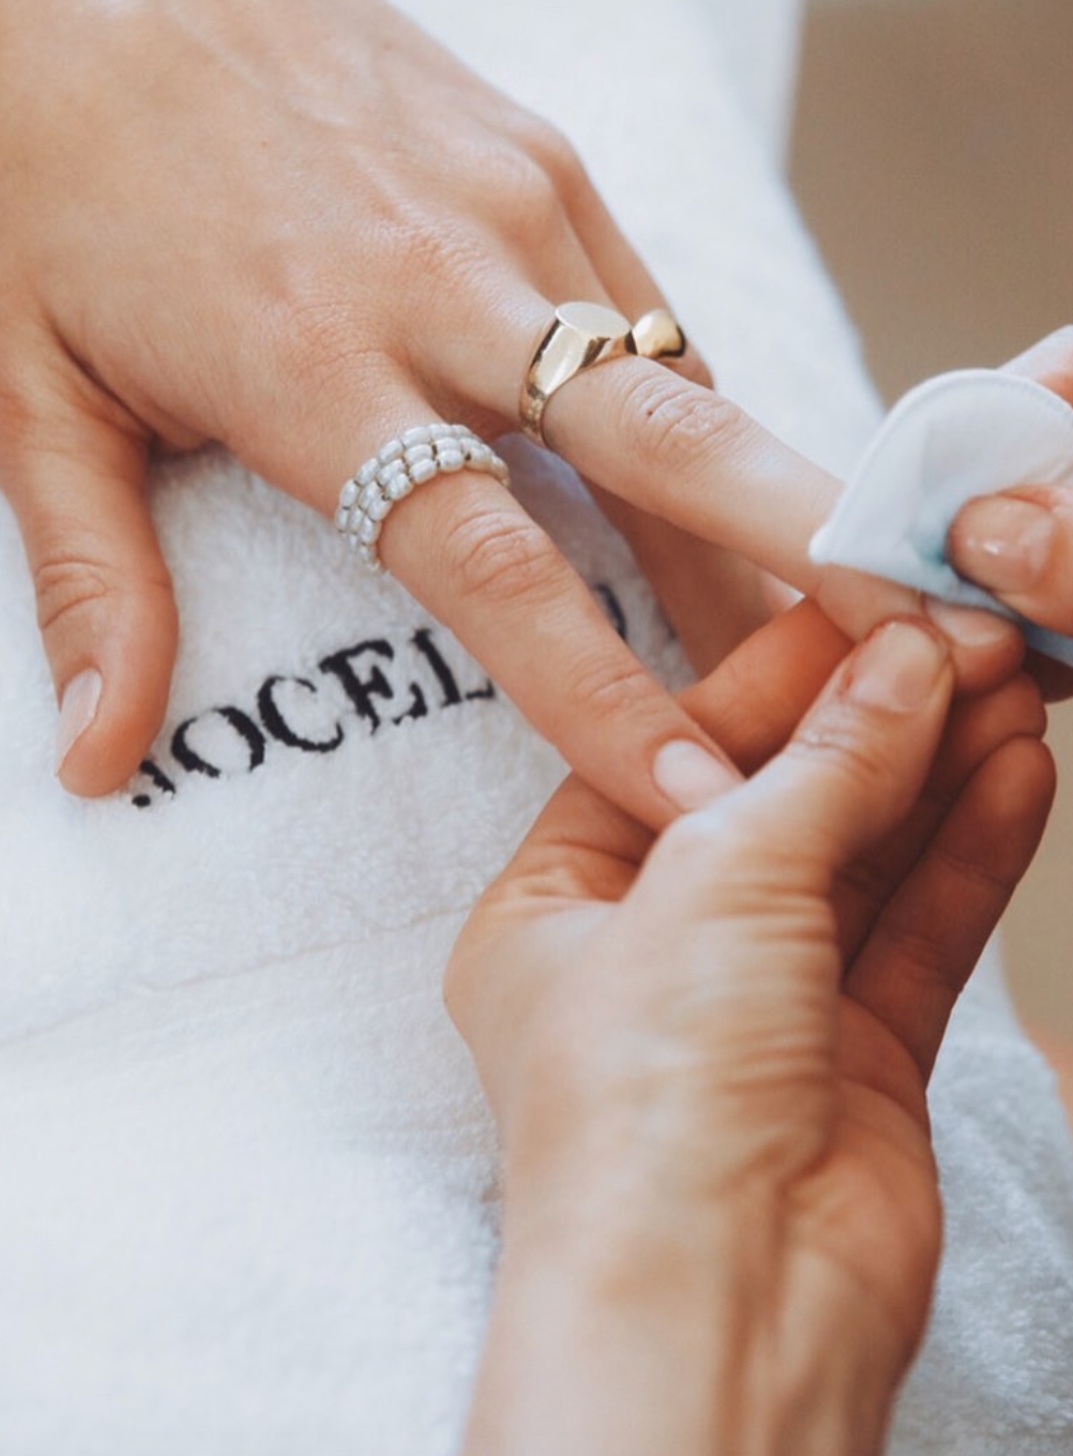
For a colour that lasts, it’s worth taking the time to remove all traces of oil, dirt and old polish that might be lingering on your nails. A few swipes of the gentle-yet-effective Revitanail Conditioning Remover Wipes should do the trick.
Step 2: Prep work
It’s time to get in shape. Clip your nails, leaving room to file them into the perfect shape. Take a soft nail file – always soft to prevent splitting or tearing your nails – and file using fluid strokes in one direction. This should create a nice, clean square shape.
Step 3: Moisturise your hands
Why not? You’re worth it. We love Byredo Hand Cream in Gypsy Water.
Step 4: Base coat
A base coat is a non-negotiable: this will help hydrate the nails and prevent against chipping. After applying, wait two full minutes before moving on to step five.
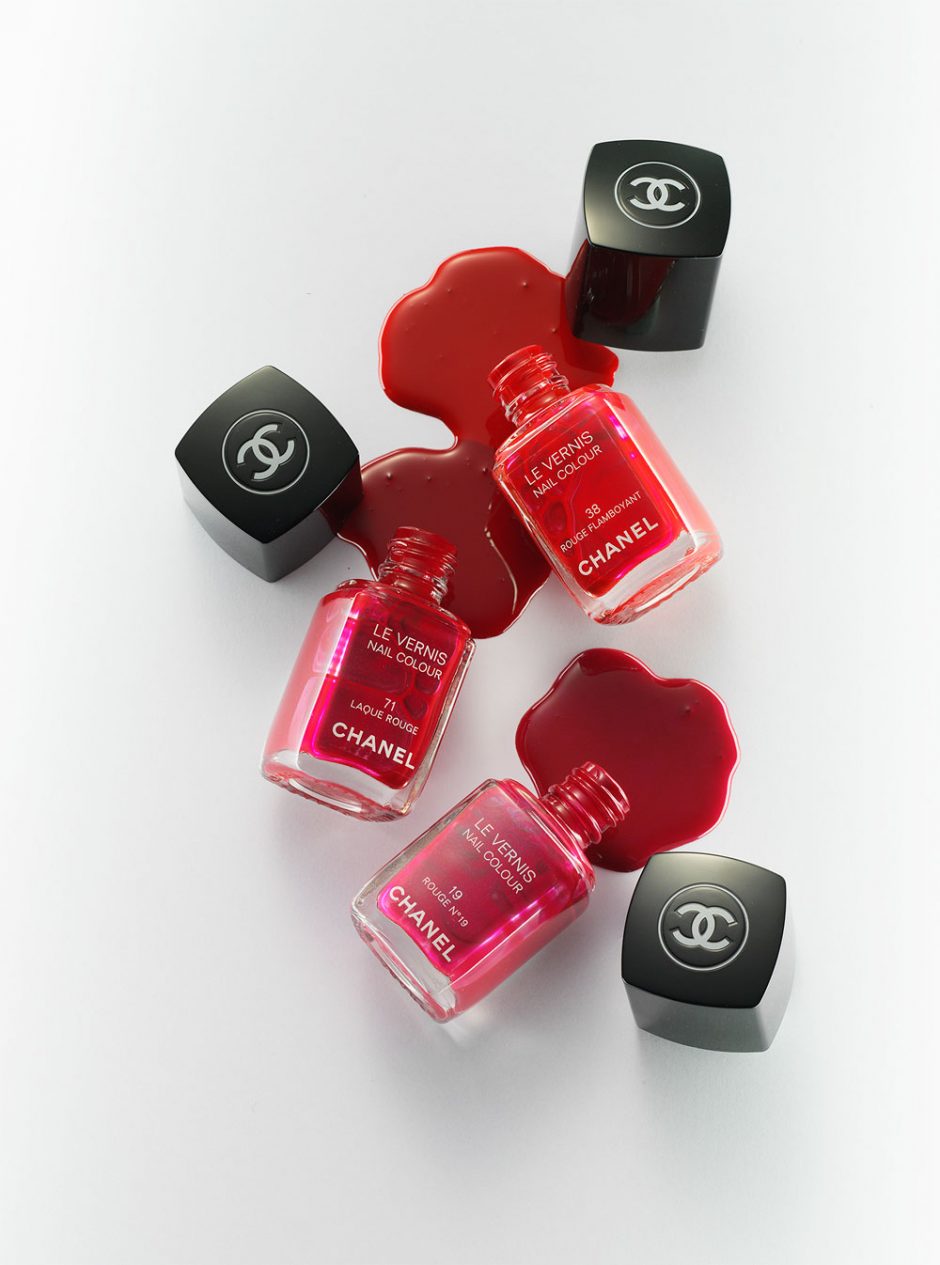
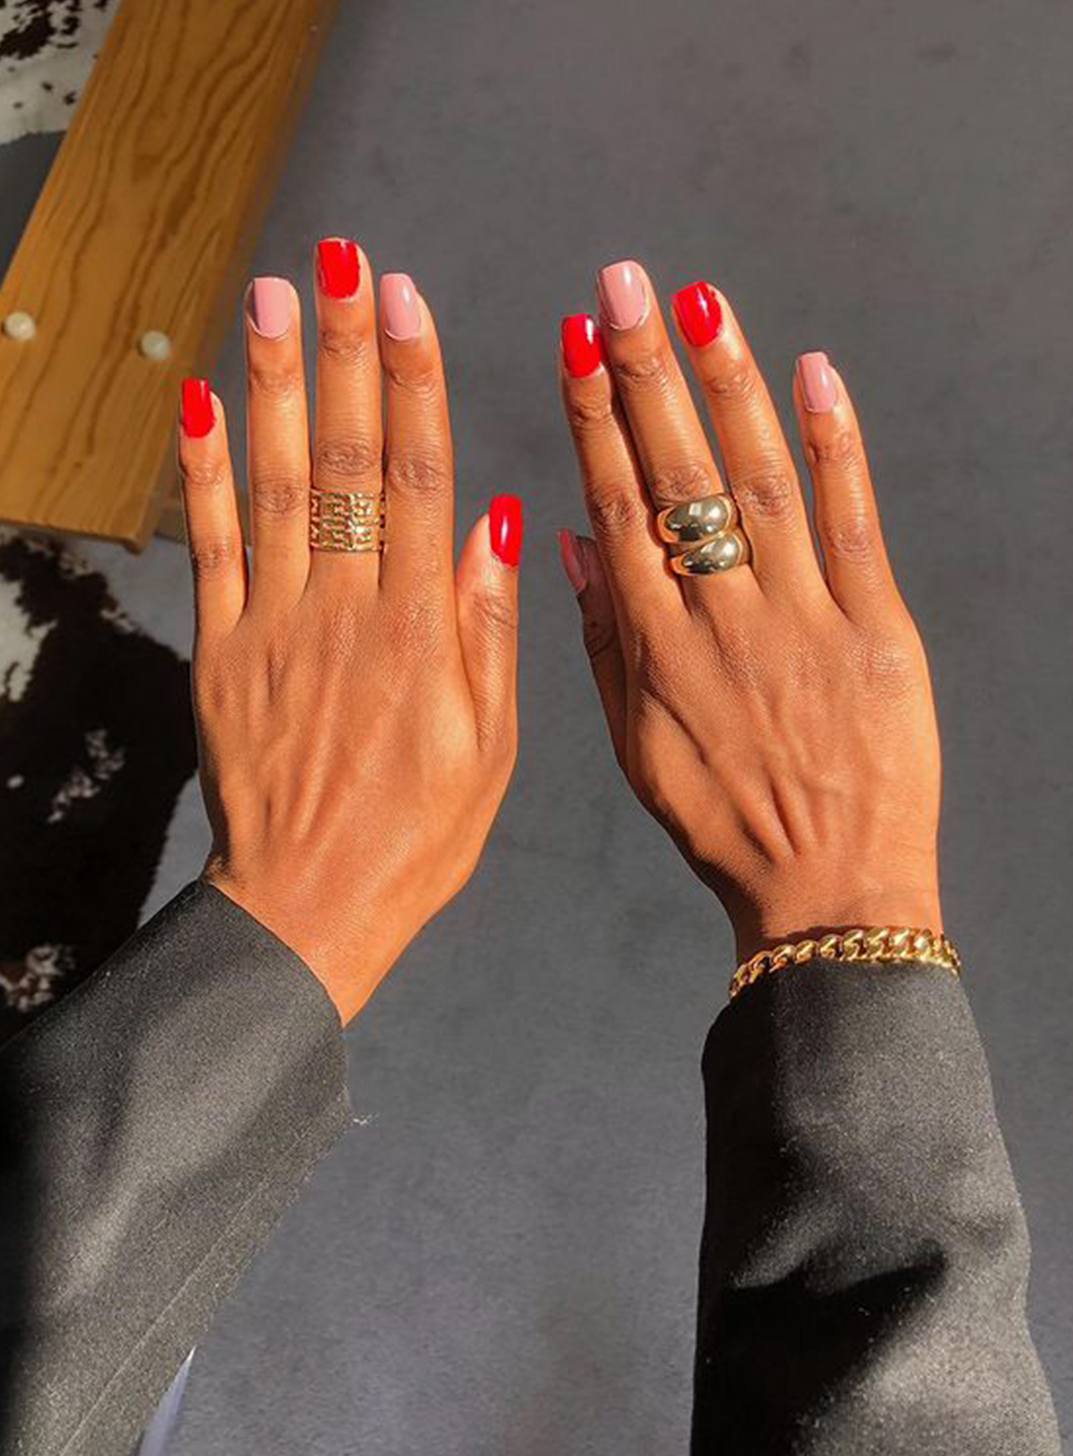
Step 5: A pop of colour
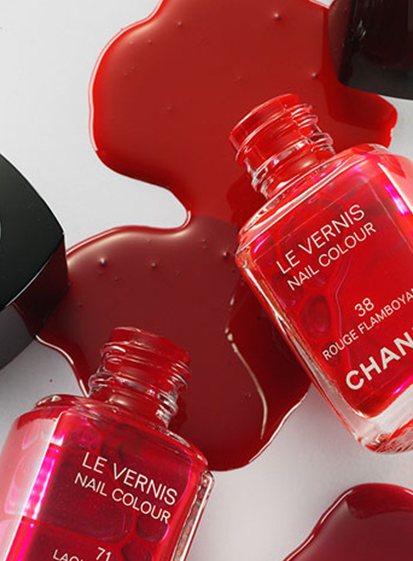
Now, for the main event: the colour. Choose your polish wisely. The easiest polishes to apply are the ones with a flat, wide brush that will cover the maximum amount of surface area with the least number of strokes. Our favourites – for both their brush and long-lasting formulas – include CHANEL Longwear Nail Colour, OPI Nail Lacquer, Burberry Nail Polish and Smith & Cult.
Step 6: Coat #2
Wait two full minutes and apply again. When your polish is still in place this time next week, you’ll thank yourself for applying that second coat.
Step 7: Pop on a top hat coat
A top coat seals the deal; it adds shine, helps to extend the life of your manicure and prevents against chipping. Bonus points if you apply another top coat in two days’ time – and two days after that. It’s a small step but it makes a world of difference.
Step 8: Wait it out
Kick back, relax and take 10. Perhaps you could use this time to meditate? If you aren’t one to sit around and wait for paint to (literally) dry, consider a rapid-dry formula, like Sally Hansen INSTA-DRI – this will cut your drying time in half.
Have you mastered the art of the at-home manicure? Do you have any hacks? Tell us in the comments below!


Comments