
An Idiot’s Guide To Doing Your Own Gel Manicure
It’s easier than it looks – promise!
We now have a Facebook group! Here, we share beauty tips, wellness hacks and get to interact with each other (in real time)! Click here to join the Gritty Pretty Gang on Facebook!
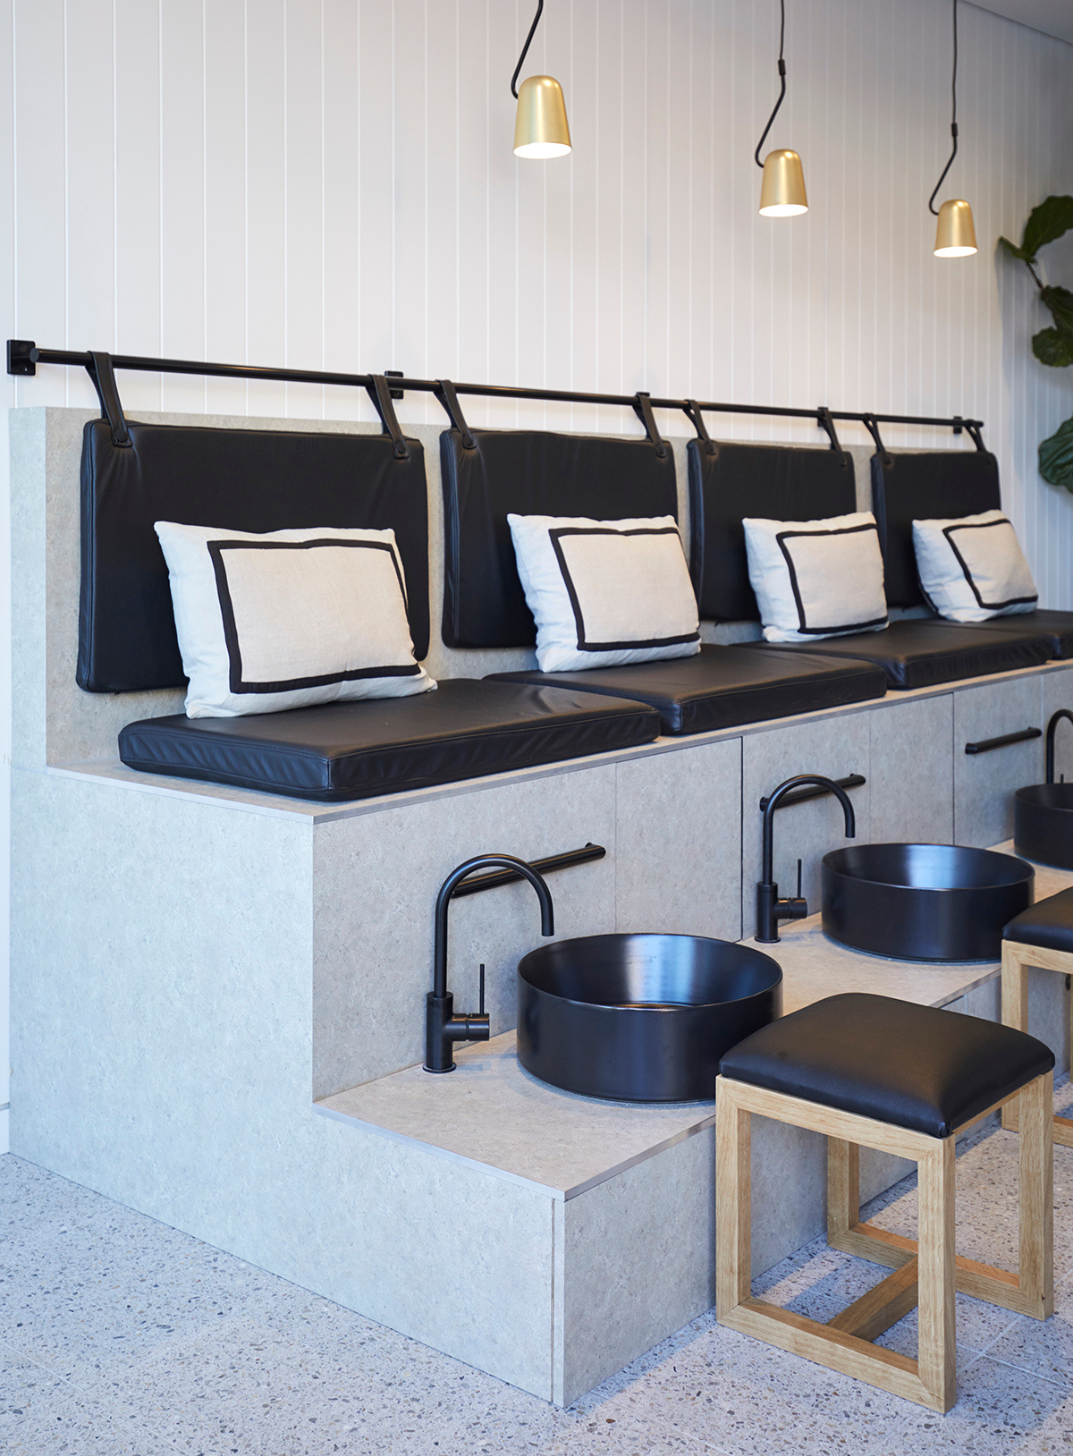
Not so long ago, there was a time when we could step outside of our home (whenever we wanted), meander down the road (without any anxiety), walk into our local nail salon (no appointment necessary) and sit down for a gel manicure.
Fast forward to now and honestly, we are so looking forward to getting a professional standard manicure again once salons open on June 1. But realistically, appointments are likely to book up fast. Rather than going without – gasp! – we’re learning how to do our own gel nails instead. Here, SNS Educator Lili Vo walks us through the whole process, start to finish.
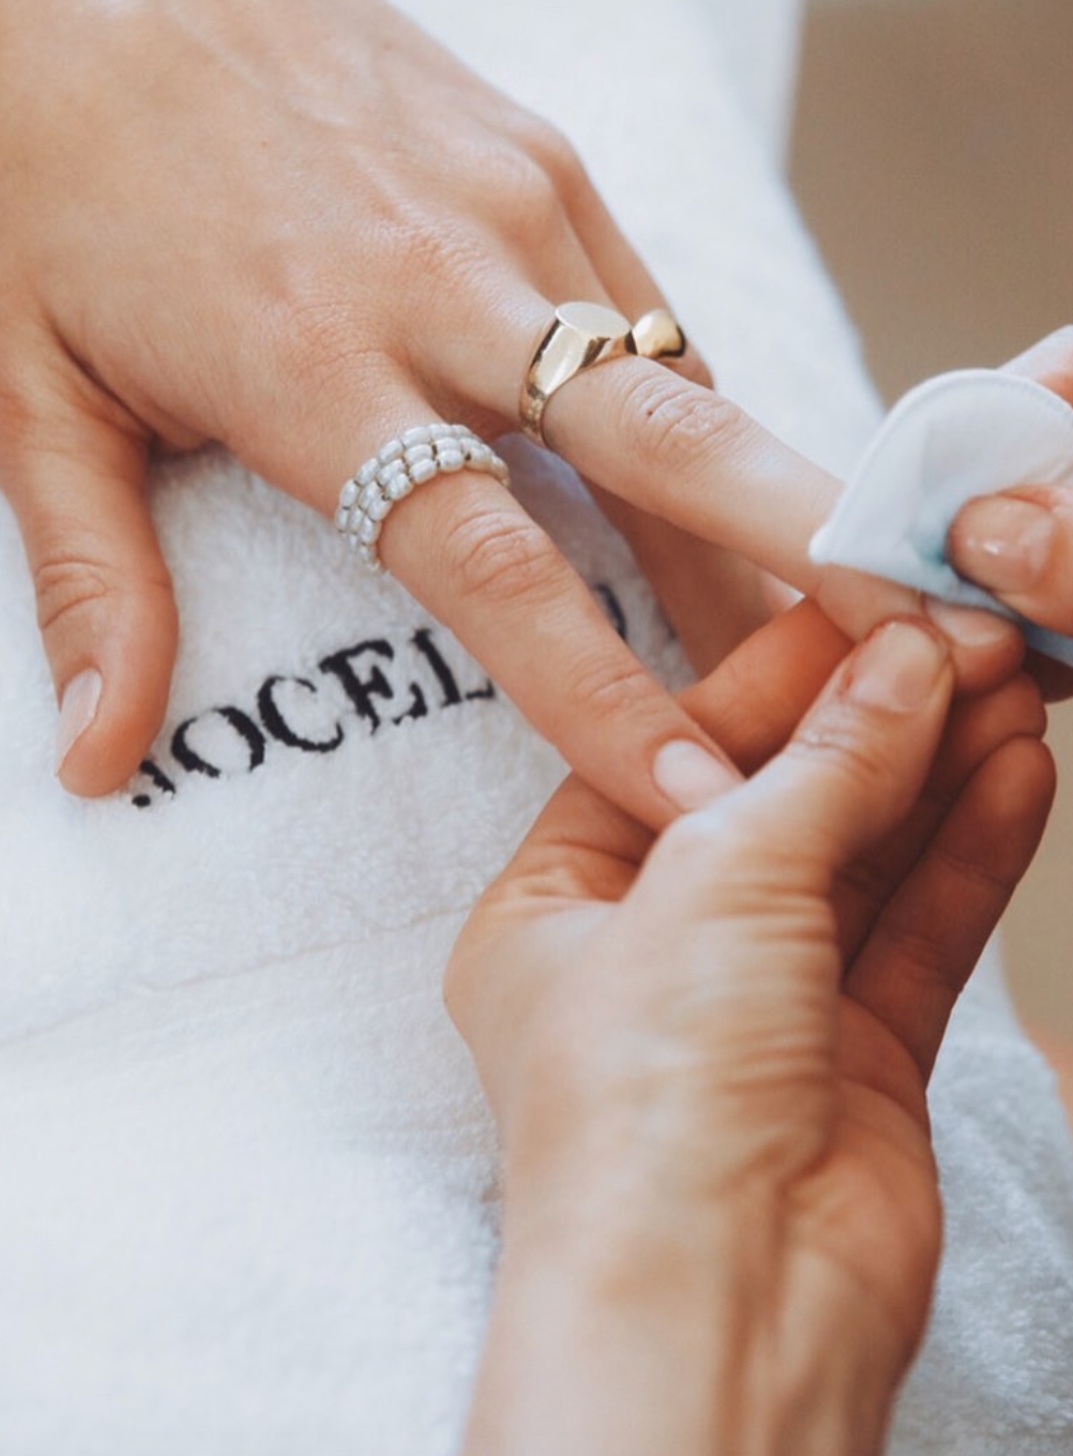
N.B. Before we get started, you’ll need to remove your old polish/gel/acrylic first – read our guide to removing your manicure here.
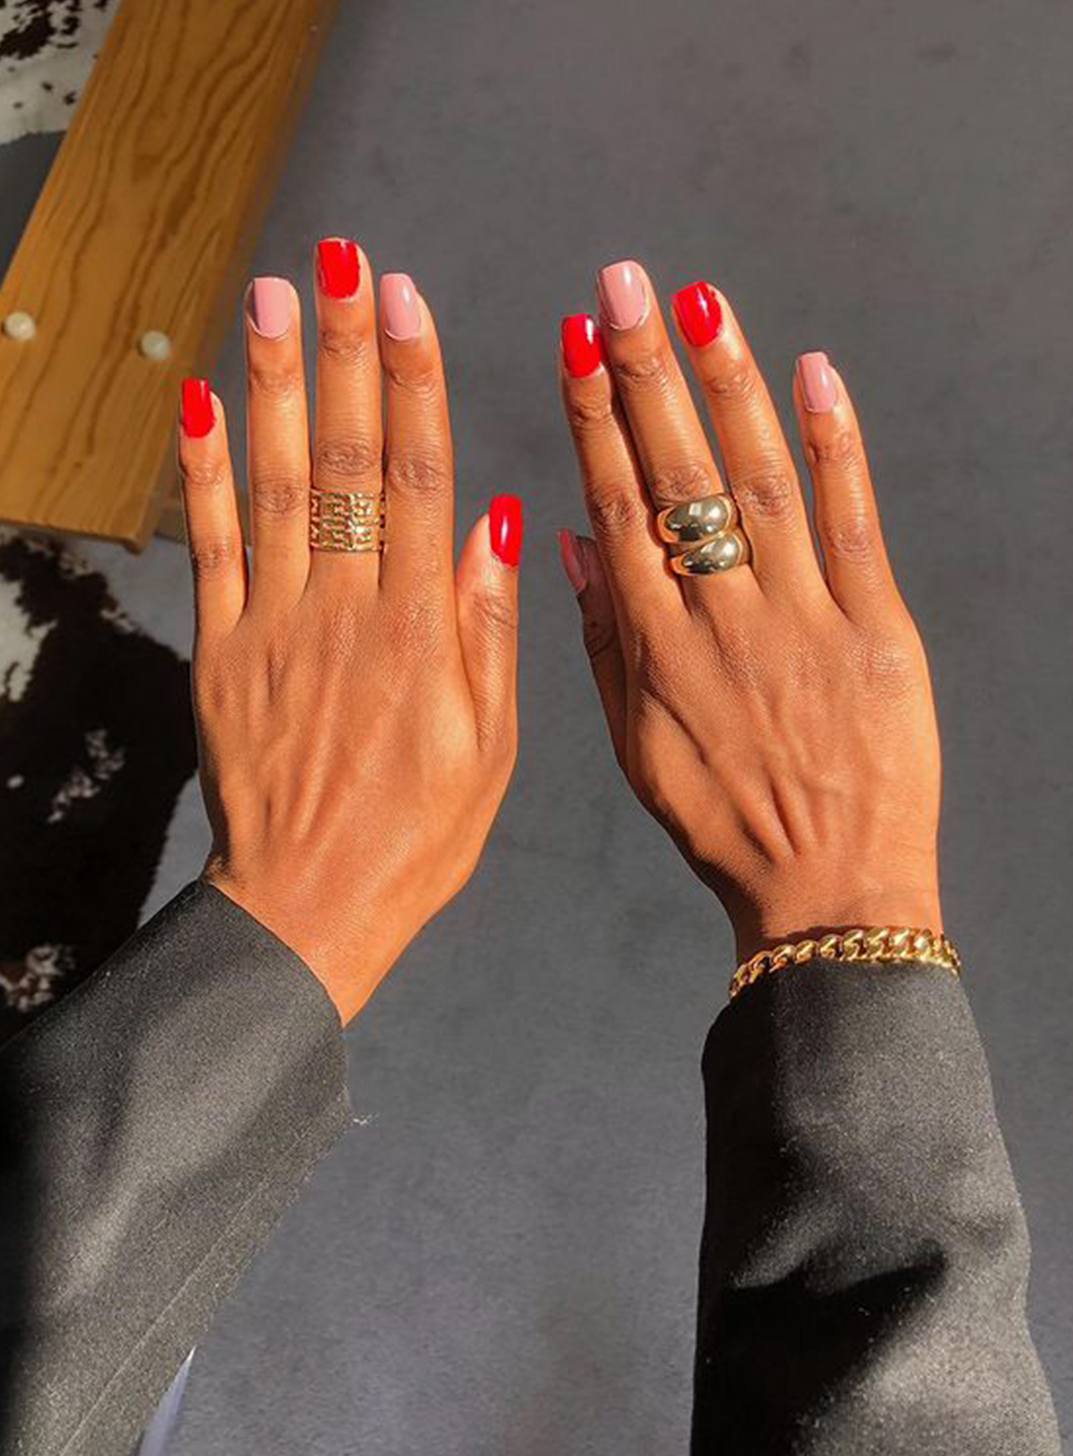
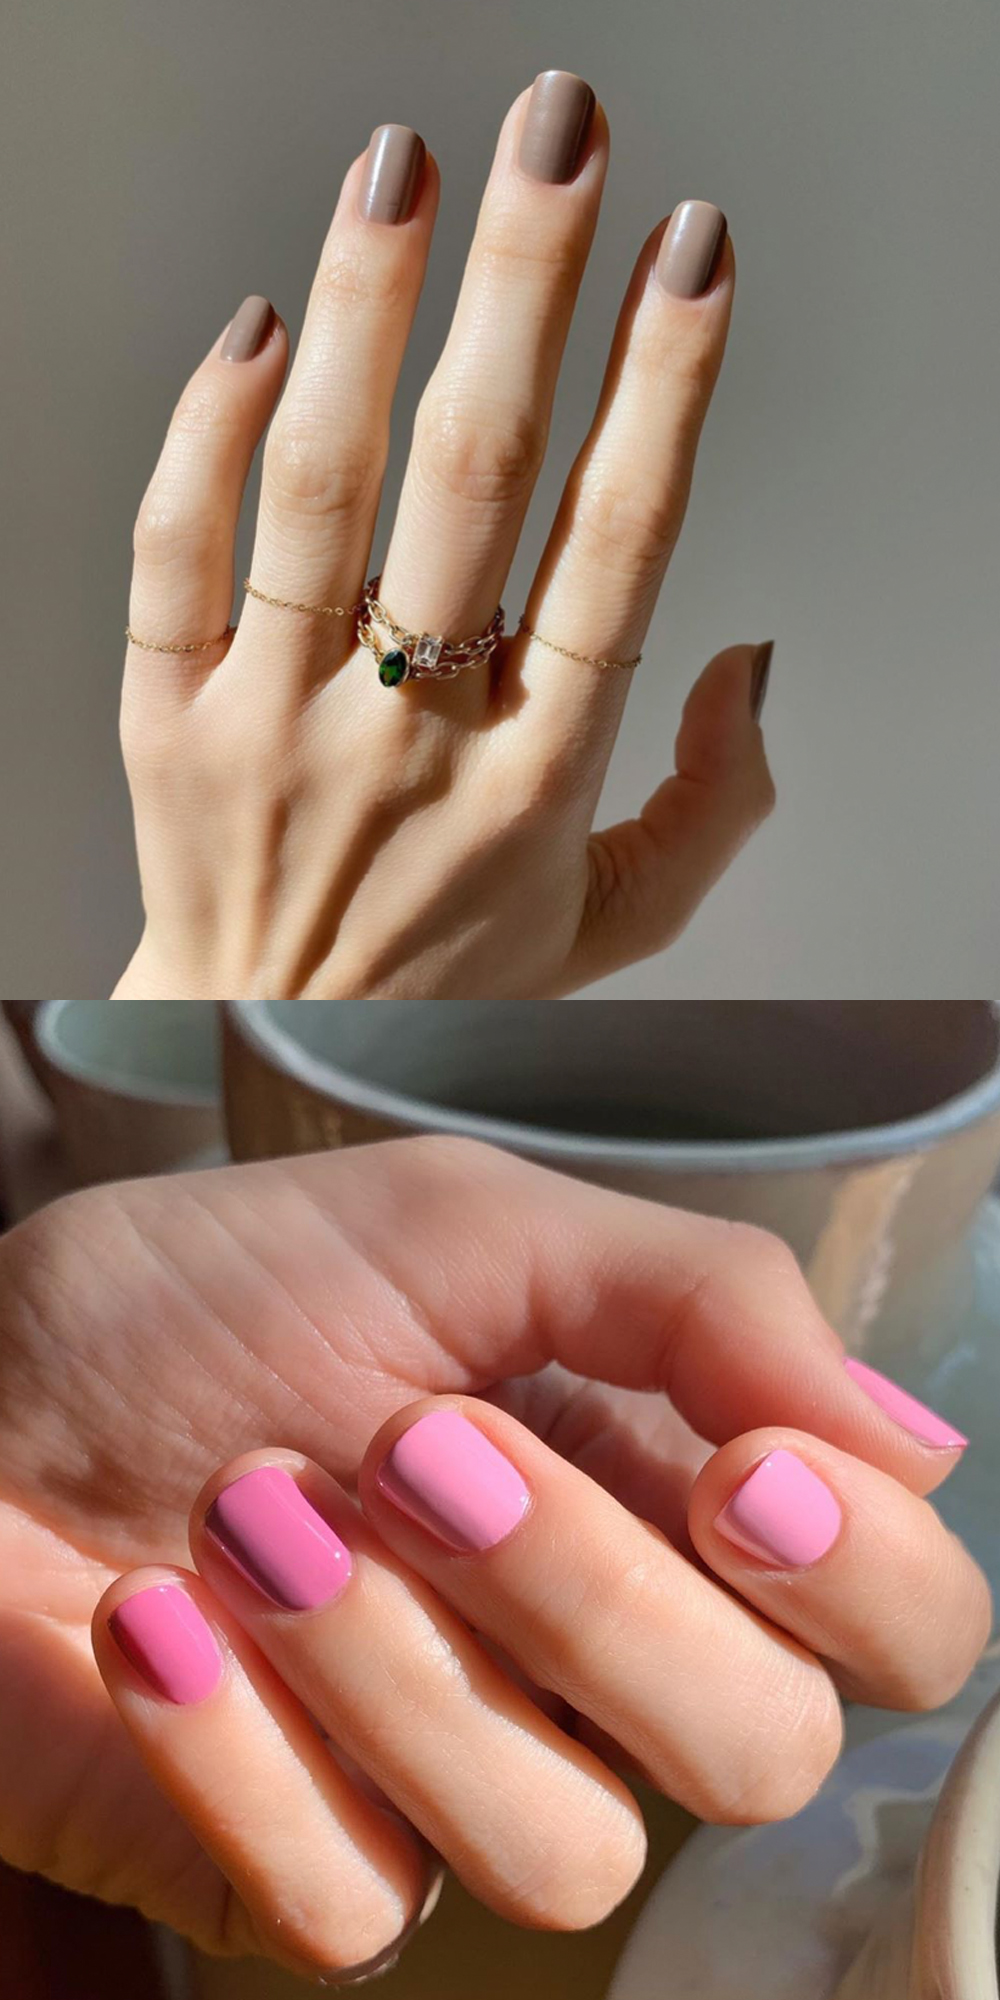 Images: @betina_goldstein
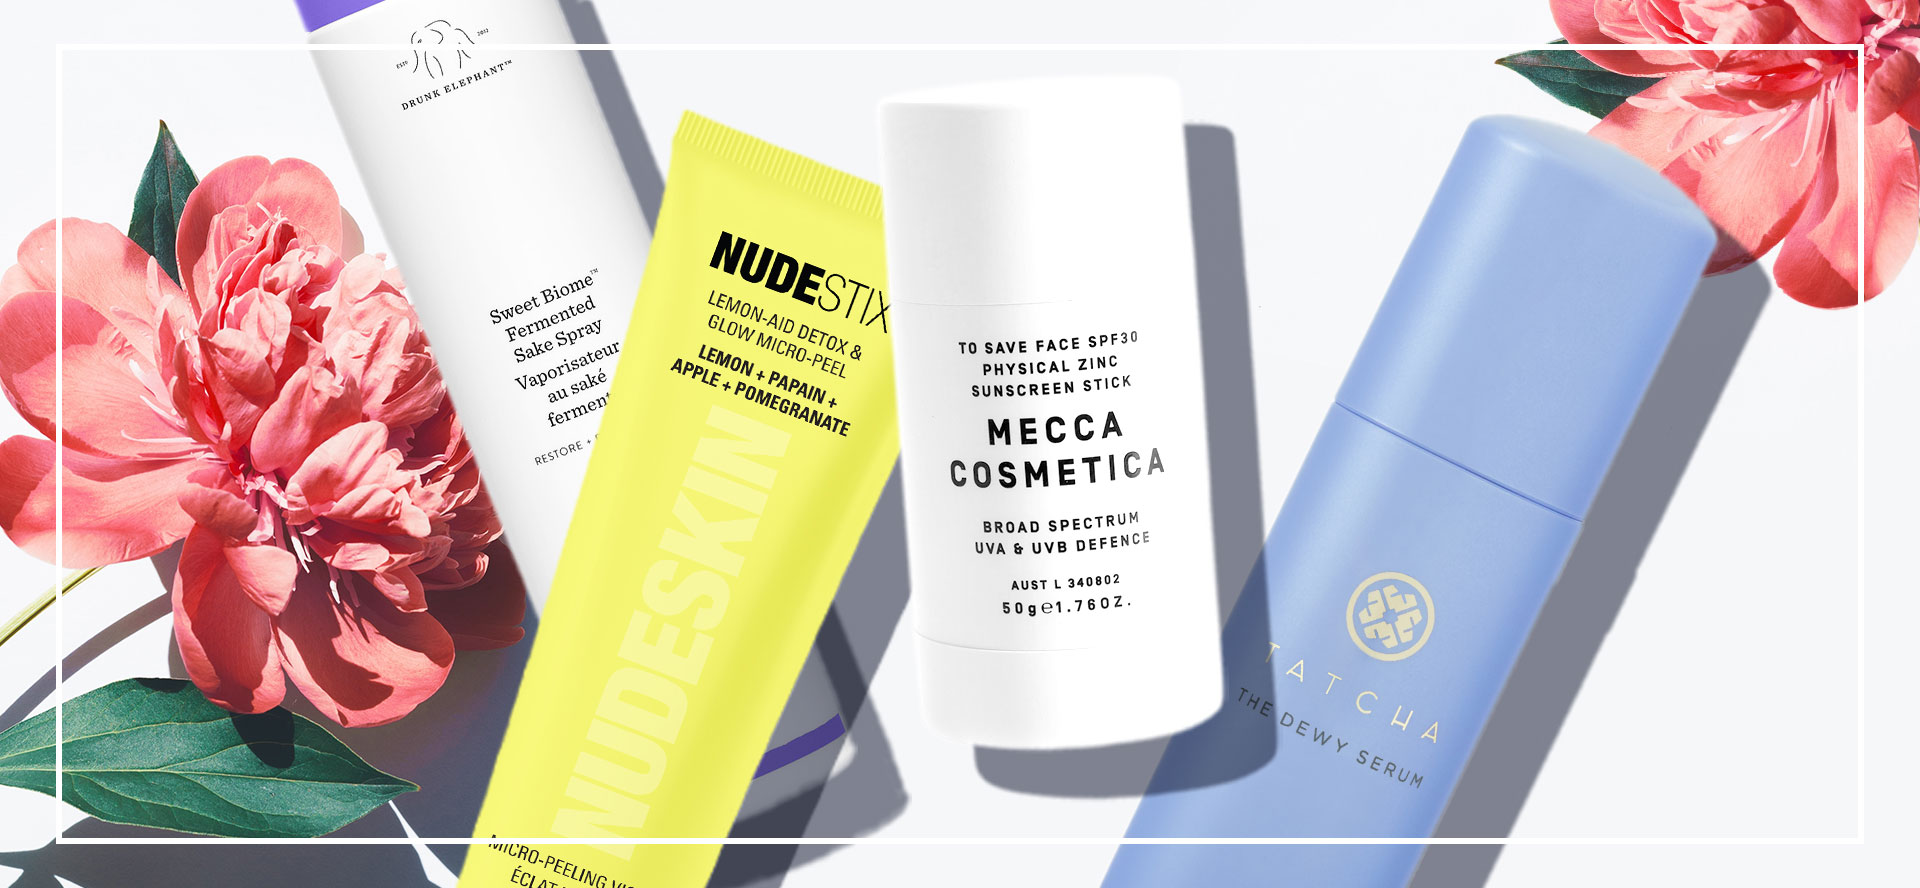
Tool Time
There are a number of gel nail kits available on the World Wide Web. The SNS Gel Nail Starter Kit ($110) has everything you need to get started. The OPALLAC At-Home Gel Starter Kit ($69) is another affordable option.
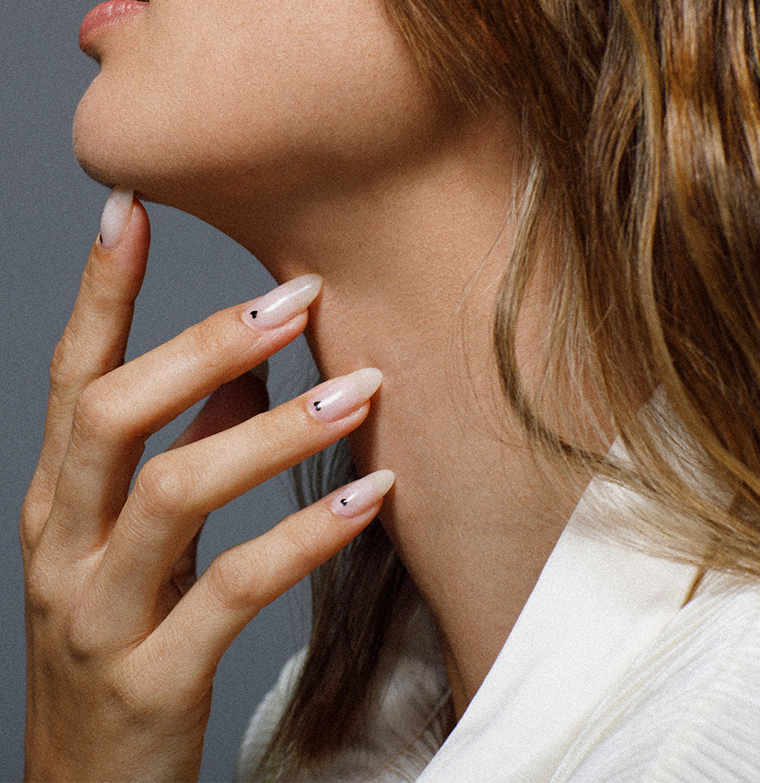
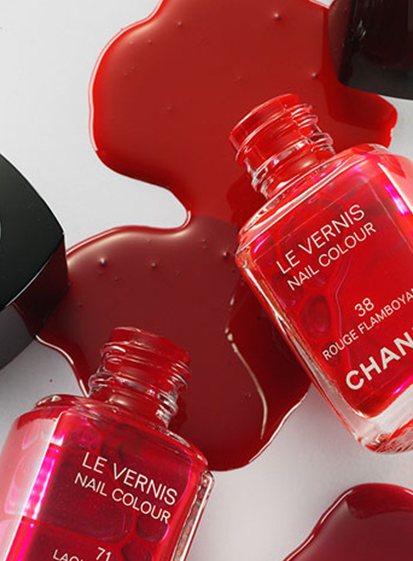
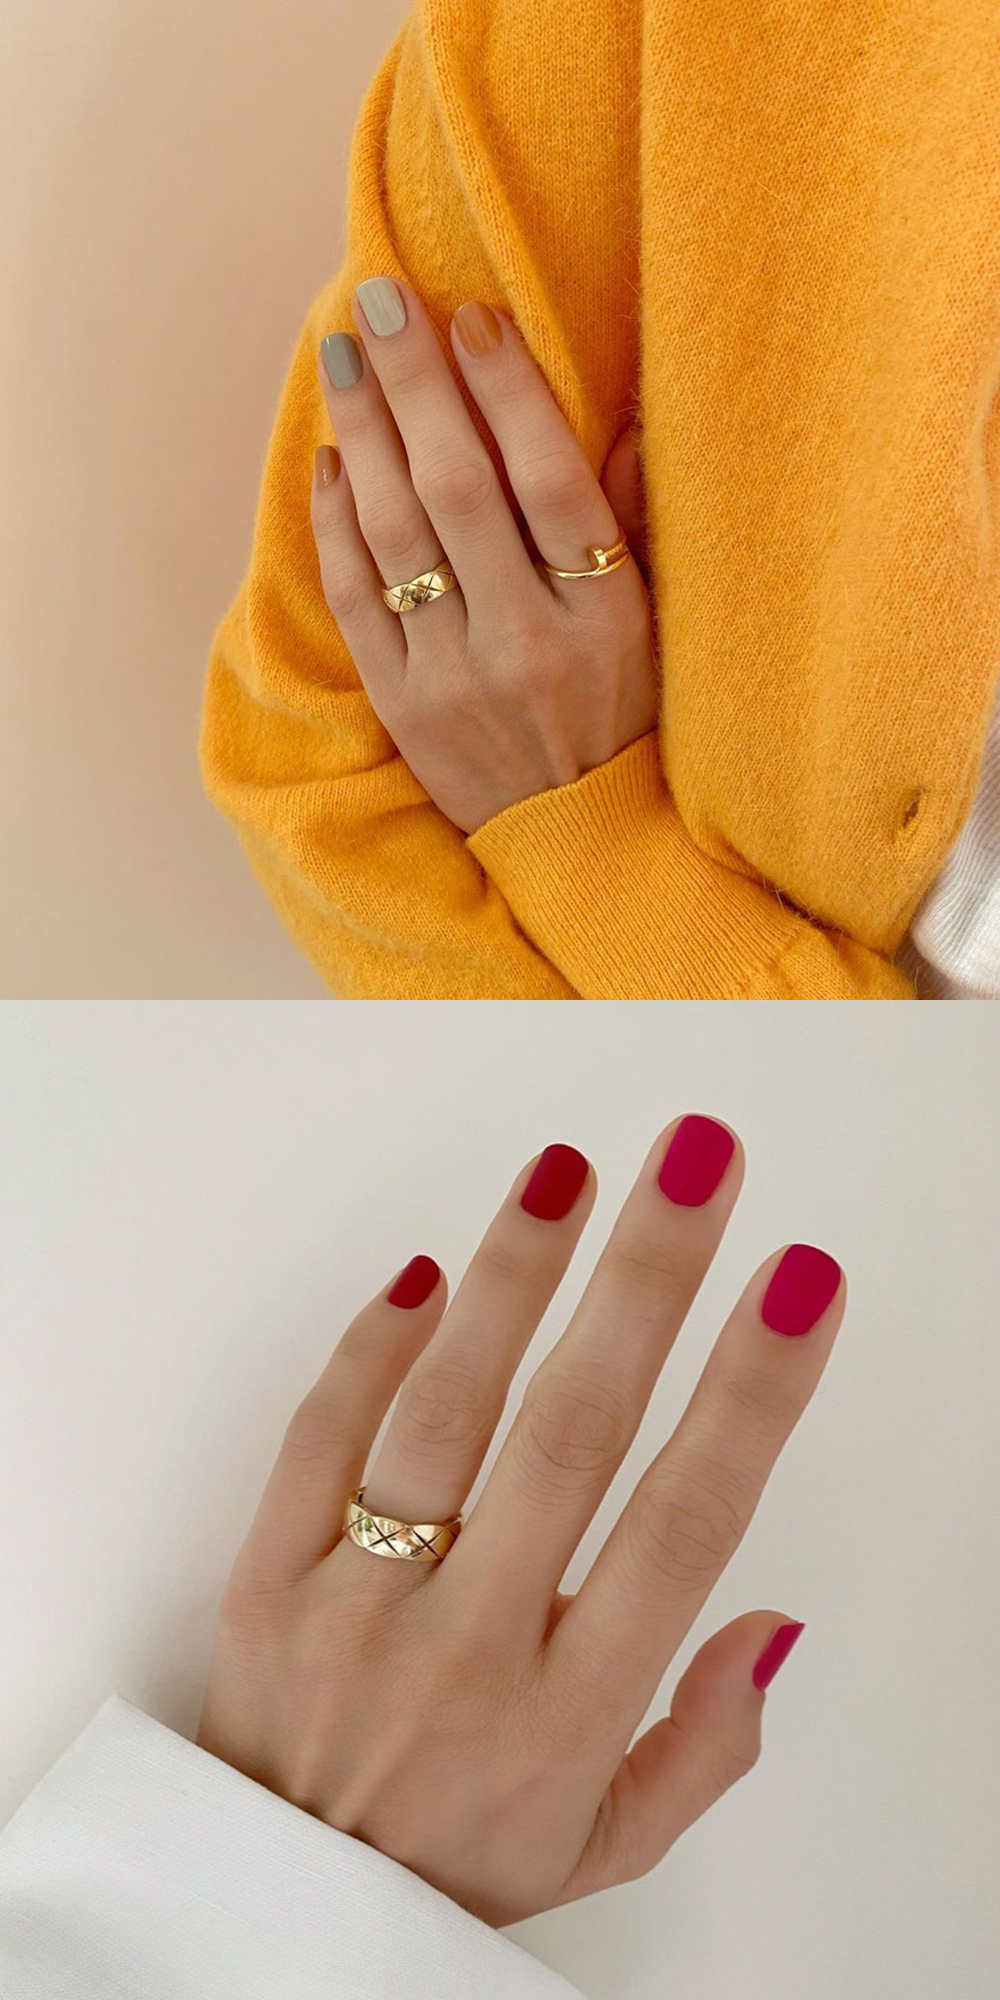 Images: @betina_goldstein
How To
Step 1: Using wooden cuticle sticks, gently push back the cuticles.
Step 2: Take your nail file and use it to shape your nails. Round and square are the easiest to DIY at home. To create a square finish, run the nail file straight across. For round, shape them square initially and then follow the natural curve of your fingertips until you have a round shape.
Step 3: Buff your nails to achieve a slightly rough surface on your nail bed for the gel to adhere to.
Step 4: Apply the base coat from your kit and cure under the UV lamp for 120 seconds.
Step 5: Apply a thin layer of your chosen gel polish colour. Cure for 120 seconds.
Step 6: Apply a second thin layer of the same polish. Cure for 120 seconds.
Step 7: Apply your topcoat. Cure for 120 seconds.
Et voila! Some gel kits come with a solution to wipe down the nails after the top coat to remove any sticky residue. The SNS kit specifically doesn’t require this final step.
Tell us, will you trial this method to do your gel nails at home? Or are you hanging out for a proper manicure at the salon?
Comments