
How To Store Your Beauty Products Like A Pro
Your dream shelfie can now be a reality.
We’ve all been there — scrolling through Instagram drooling (metaphorically, of course) over the ultra-organised and perfectly stored beauty products on many an influencers’ page. Whether its a photo of their crisp white shelving unit with 1000 empty Diptyque jars and Byredo perfumes a-plenty or a ‘draw-fie’ (à la Rosie Huntington-Whiteley), showing a perfectly divided space for all your makeup and skincare products, storage jealousy is definitely a thing.
The good news? You don’t have to have the perfect storage unit to be able to create the perfect storage system. You just have to know how to make what you’ve got, work for you — and that’s where we come in. Here, your step-by-step guide to culling, designing and organising your beauty products to ensure they’re stored to perfection and ready for use.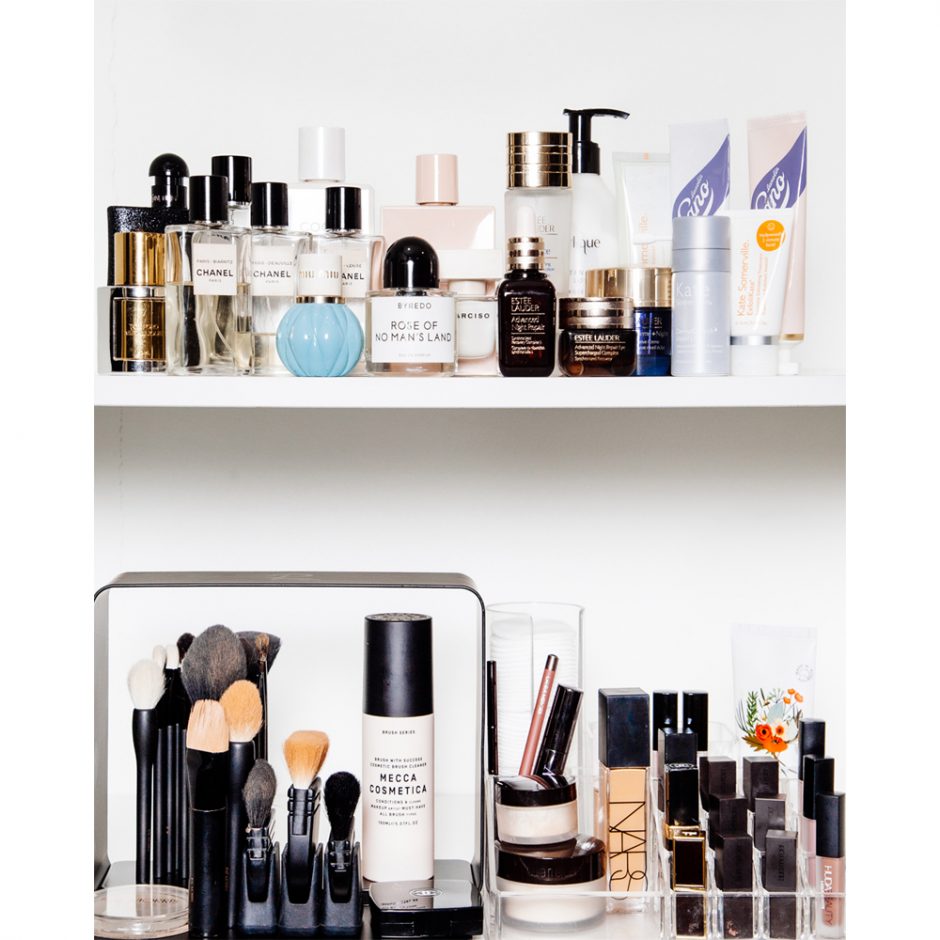
Step 1: Take Everything Out
Before you even begin to think about organising your beauty products, you must first take them all out of their current crevices. And we mean all of them. Starting out this way will help you see not only how many products you actually have but will also allow you to clean (!) and reevaluate your storage. More often than not we aren’t using what we have to its fullest potential so this step is a non-negotiable.
Step 2: Clear Everything Out
Now that you have a mound of products stacked on the floor (and a large amount of anxiety about the task ahead) it’s time to cull. And be hard on yourself. Any beauty product that has been sitting untouched for longer than two months is a goner, no arguments. Then look to see what is out of date (chuck) and what no longer brings you joy (see ya). Now you’ll be left with just the bare essentials i.e. what you actually use.
Step 3: Divide And Conquer
In order to fully understand how to organise, you have to be aware of how many products you have in each category. For example, if you have 35 foundations that you can’t part with (no judgement here) they may require their own drawer or shelf. But if you only have three, they can bunk in with your concealers and powders. Grouping each category together will let you examine which products can fit together and which need to ride solo.
Step 4: Consider How You Use Your Space
And by this we mean, consider how you actually operate when looking for beauty products. If you have a set of double doored shelves in your bathroom but only ever open one door (hence forgetting about what is on the other side) make sure the products you love and use are on the side you reach for most. Same goes for drawers. If you only ever open the top two, reserve them for your most loved and pop the rest down the bottom.
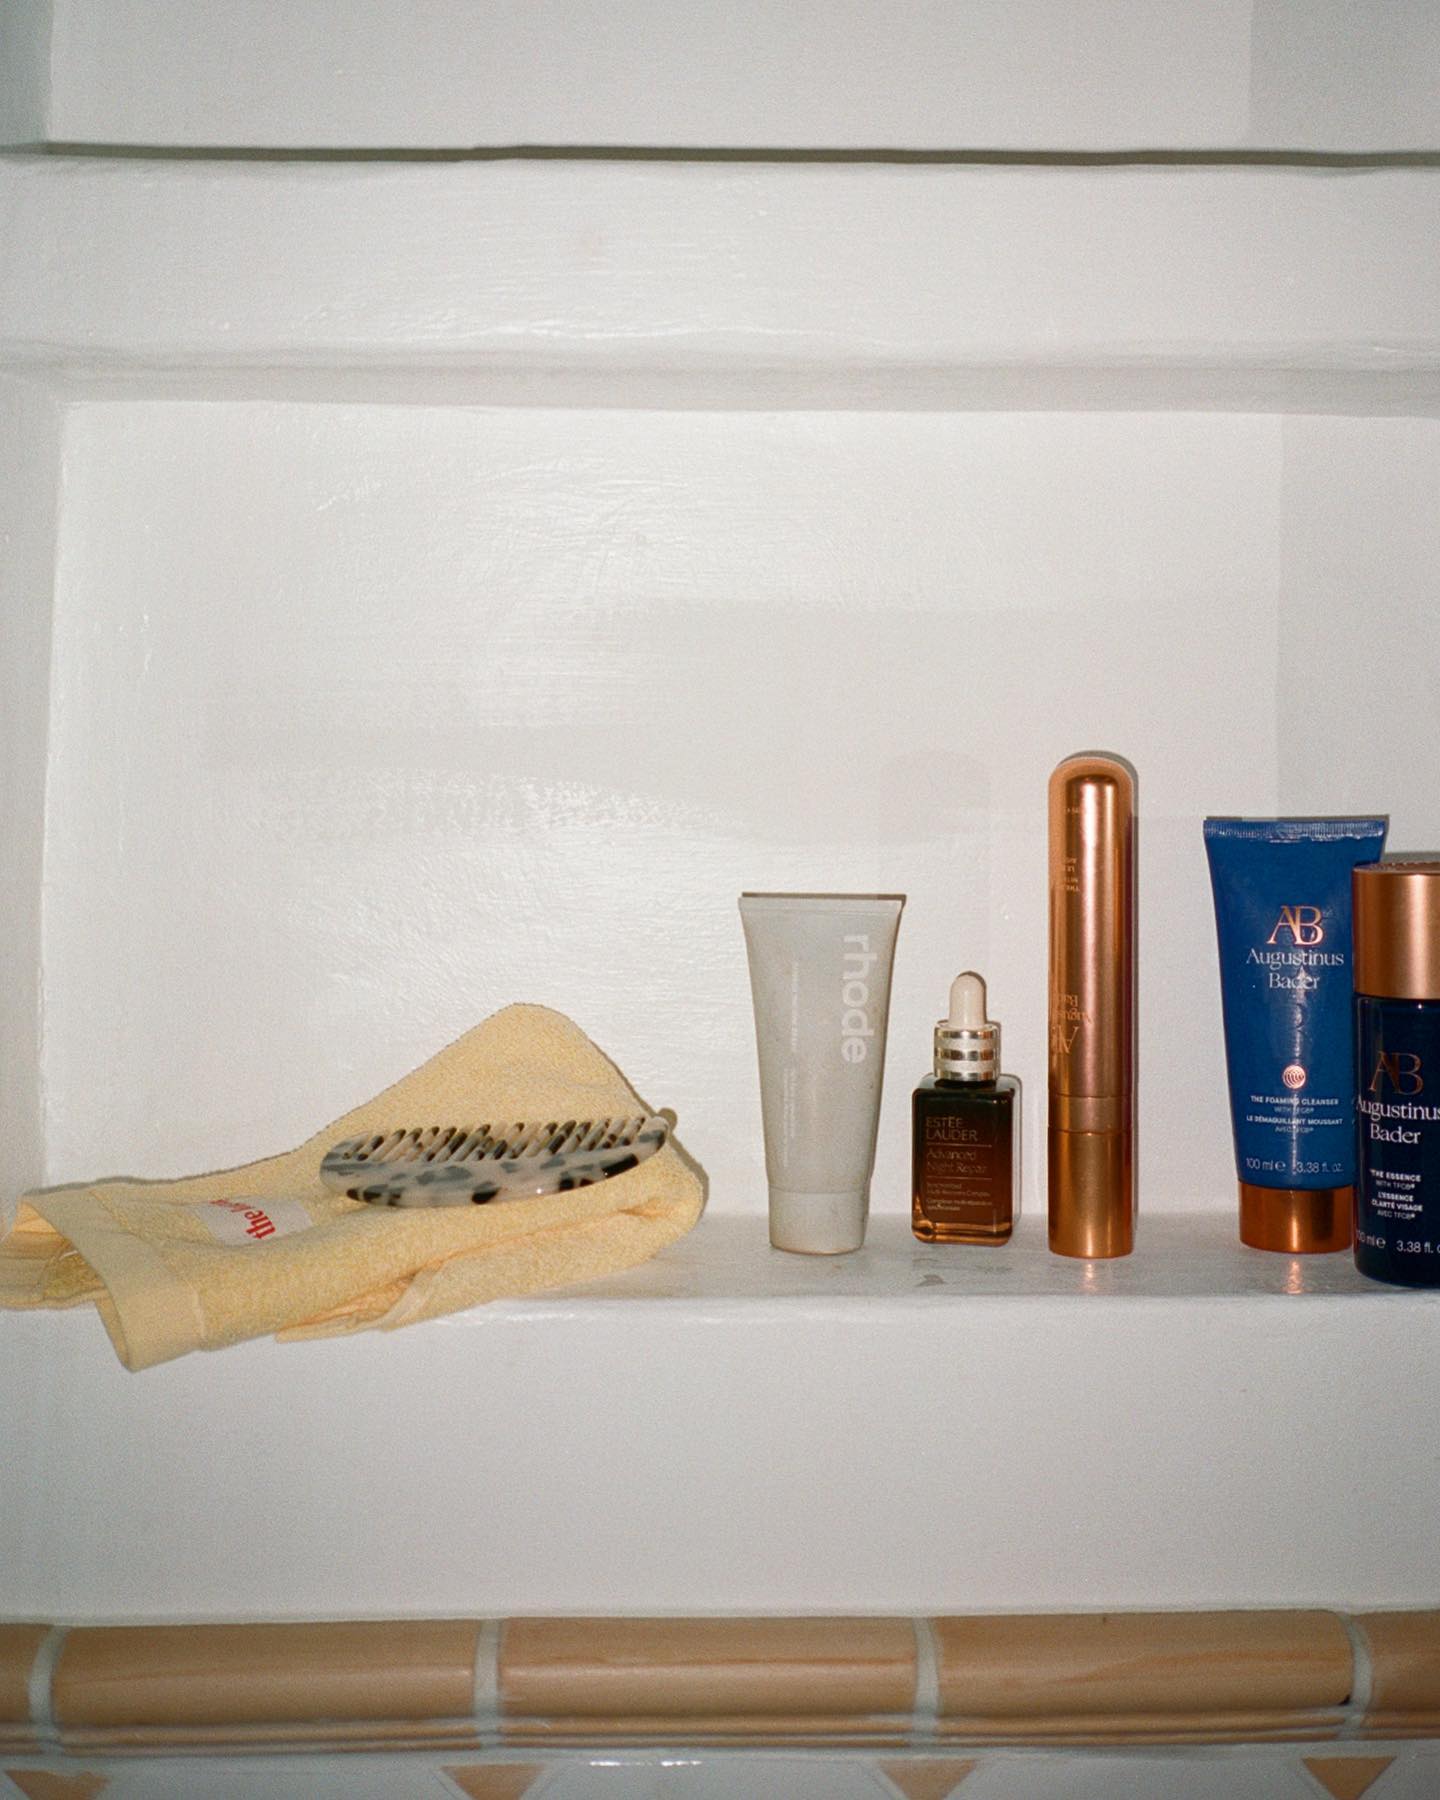
Step 5: Choose Your Storage
Overwhelmed? Don’t be. We’re almost at the end. The next step is to pick a storage solution. Whether you venture to Ikea or Howard’s Storage World or reuse some old jars and candles, it’s important to know how much storage you need and where it’s coming from. The most important thing is to keep anything that comes in contact with your skin (BeautyBlenders, makeup brushes, tweezers etc.) in a bag or box that is covered to avoid them coming in contact with excess bacteria or dust. Oh, also — make sure your products aren’t sitting in direct sunlight.
Step 6: Evaluate What’s Left
Before you put everything into your newly organised cupboard or drawer, it’s time to evaluate what you have left and where it would make sense for it to go. Beauty products don’t exclusively belong in the bathroom, you know. So, rethink your system and make it work for you. If you like the lighting in your bedroom more, keep your makeup in there. If you like to do your skincare fresh out of the shower, keeping your goodies in the cabinet would make sense. Make it work for you.
Step 7: Organise!
Now it’s time to put it all together. You’ve got this girlfriend (just think of the shelfie)!
Do you have any makeup storage tips that have changed your life? Don’t keep them a secret! Leave them in the comments below.


Comments