
The only girl self-tan remover in the world.
We now have a Facebook group! Here, we share beauty tips, wellness hacks and get to interact with each other (in real time)! Click here to join the Gritty Pretty Gang on Facebook.
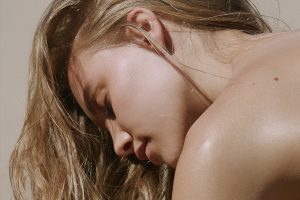
For most of us, year-round bronziness (yes, it’s a word) it something we would love to achieve; to forgo the winter blues with perfectly even pins and an I-just-got-back-from-Hawaii kind of glow. But, unfortunately for some (aka me), our fair skin will not allow it. Hence, my love for self-tan.
And the woman who I look to for tanning inspiration? None other than Elle Ferguson.
A mysterious bronzed unicorn for what felt like an eternity (in that I could never quite crack how she got that glow) Ferguson’s bronzed pins are the envy of women the world over. ‘How does she get such an even tan? What colour is that? How does it always look so perfect?’ This was my inner monologue for many a year. So, you can imagine my delight when, in 2016, Elle Effect burst onto the beauty scene.
“I decided to start Elle Effect because I began to see this shift in the landscape where women that I admired in the influencer space were building brands that they had self-made and they were becoming female founders,” says Ferguson of her business leap of faith.
But it wasn’t all sunshine and self-tan. A business woman pre-Elle Effect in her own right, Ferguson soon realised that the beauty sphere was, let’s just say, complicated.
“The biggest thing I learnt was that you need to realise you can’t do everything. And not to take no for an answer. Starting your own business is hard, it is the hardest thing you will ever do. But it’s also the most rewarding.”
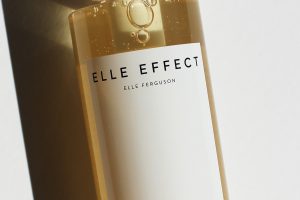
Initially, Elle Effect launched with one product: The Self Tanning Mousse. Over four years later, the brand is a market leader – and now, there’s a new Elle Effect product on the scene.
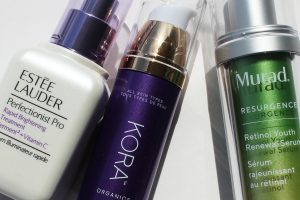
“The development process is extremely hands-on from the beginning. [All Elle Effect products are] vegan, paraben and sulphate-free so that’s always my starting point,” says Ferguson. “The product also has to be something that makes a woman’s life easier, or is something I need and cannot find.”
That product she’s talking about? The Wash. It’s new, it’s exciting and it’s good. Like, really good.
[responsive imageid=’36007′ size1=’0′ size2=’641′ size3=’1024′]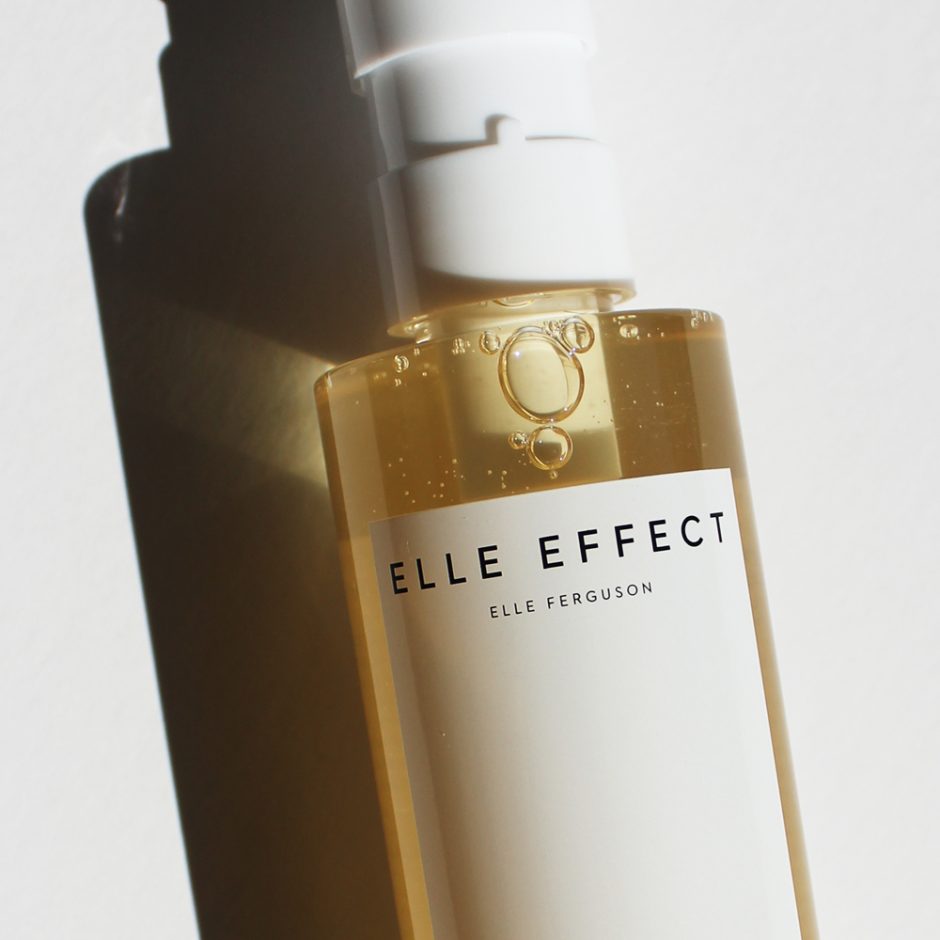 [/responsive]
The Wash, Reviewed
Despite my very well documented (see above) love of fake tan, hands down the most tedious and frustrating part of the process is removing the old tan. If I have a spare 30 minute window to apply a layer of tan, you can bet your bottom dollar I don’t want to spend half of that just getting the old tan off.
And when it comes to removal – I’ve tried it all. Tan erasing foams, 35 different exfoliating mitts, soaking in a bath, body scrubs. The lot. But nothing ever gets it all off.
Cue: The Wash.
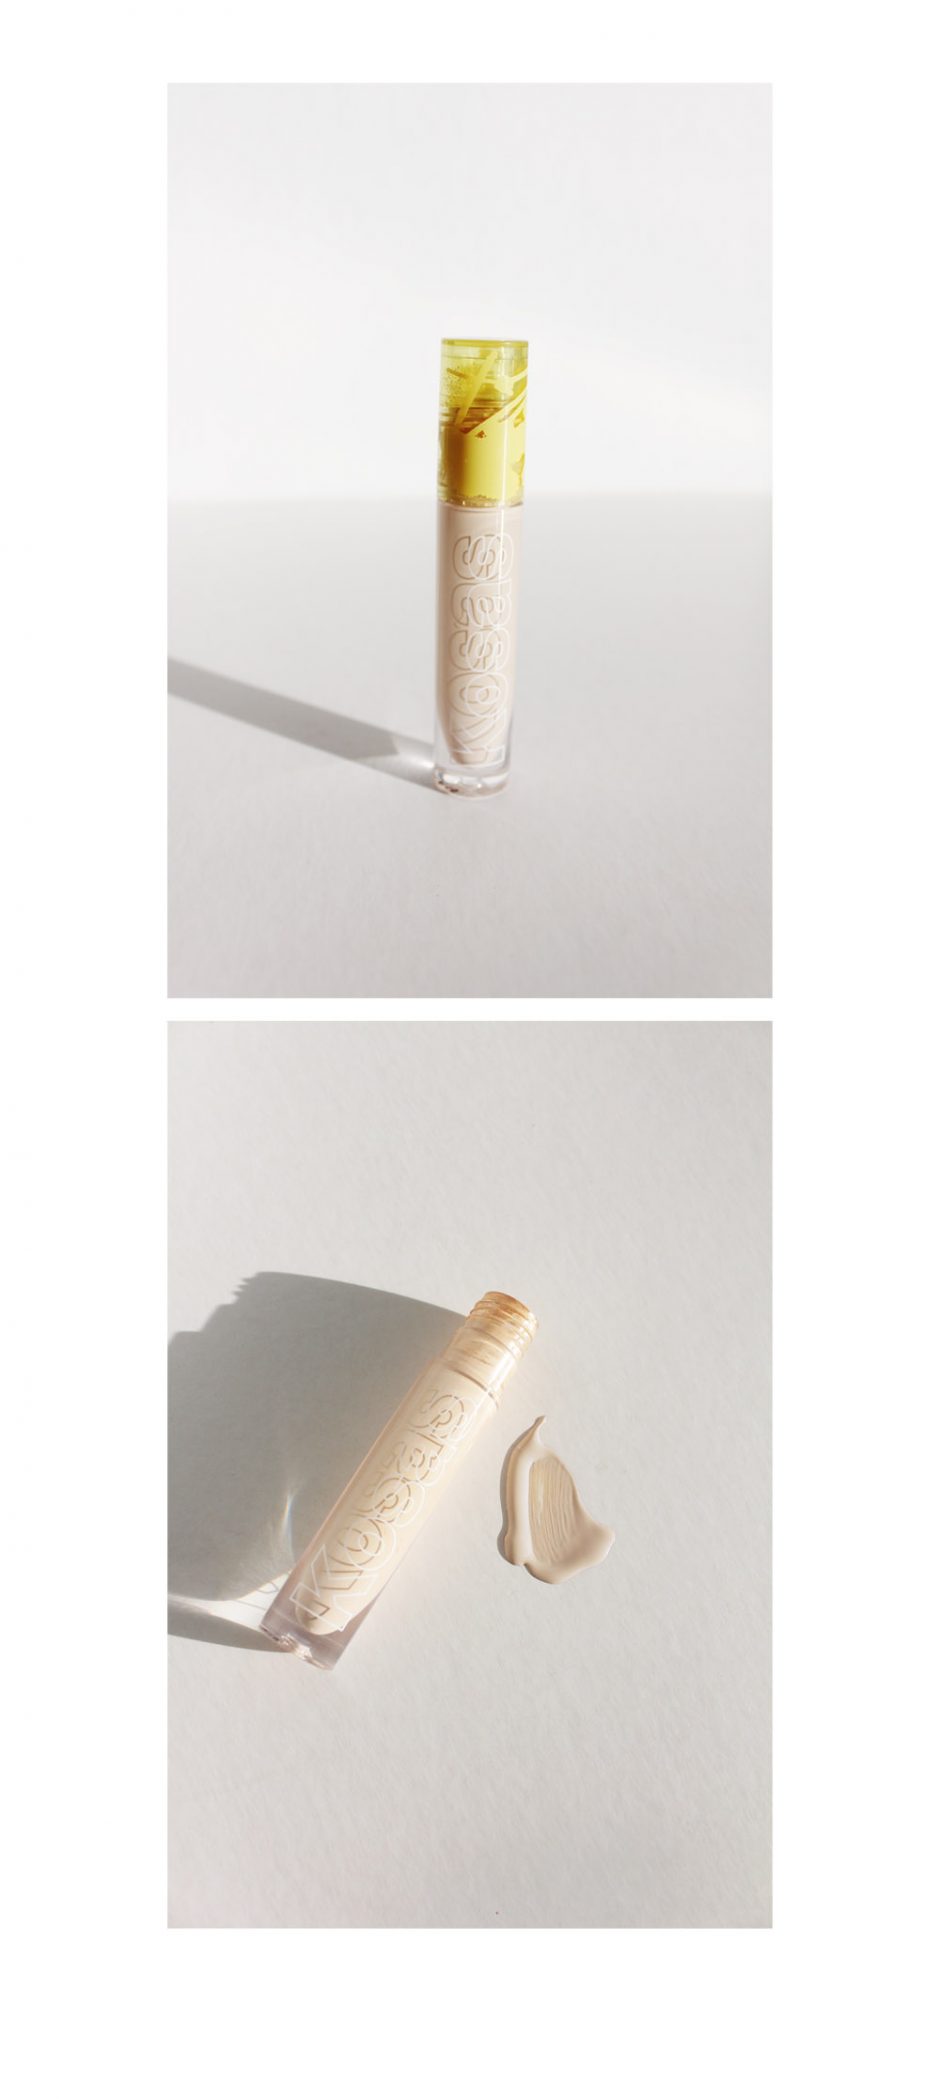
I’ve been trialling this oil-based body cleanser for about a month now and not only is it the perfect collision of body wash and tan remover, I have also noticed that the tan itself is actually lasting longer. Formulated using a combination of macadamia, coconut and olive oils, as well as a mild chemical exfoliant to dissolve dead skin cells, the product is ideal for breaking down the tan without stripping your skin. In fact, I find the oil formula replenishes the moisture levels of my skin to leave it even and supple for tan application. Genius.
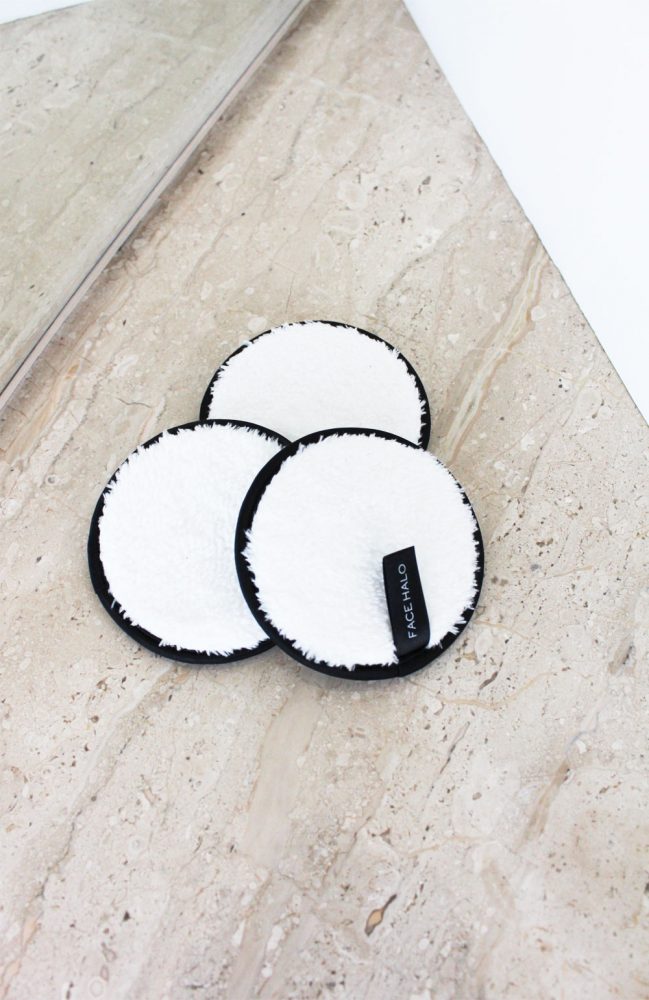
In terms of usage – it’s pretty idiot proof. My favourite way to use it is first thing when I jump into the shower, pre-shave but post-rinse off. I use it in conjunction with the Elle Effect Exfoliating Mitt (a necessary combo) and apply a few pumps to every inch of my body. The mitt is perfect for sloughing away dead skin cells and is made of a thin, finely woven fabric that means it will aid in removing the tan, without soaking the product up.
Concentrating on the places where I get the most build up, such as my armpits, knees and ankles, I massage it into the skin for around 30 seconds. This creates a lovely light foam (emphasis on light) which makes me confident in the cleansing power, but not concerned by any fillers or preservatives that are often used in ultra-foamy soaps and washes.
[responsive imageid=’36006′ size1=’0′ size2=’641′ size3=’1024′]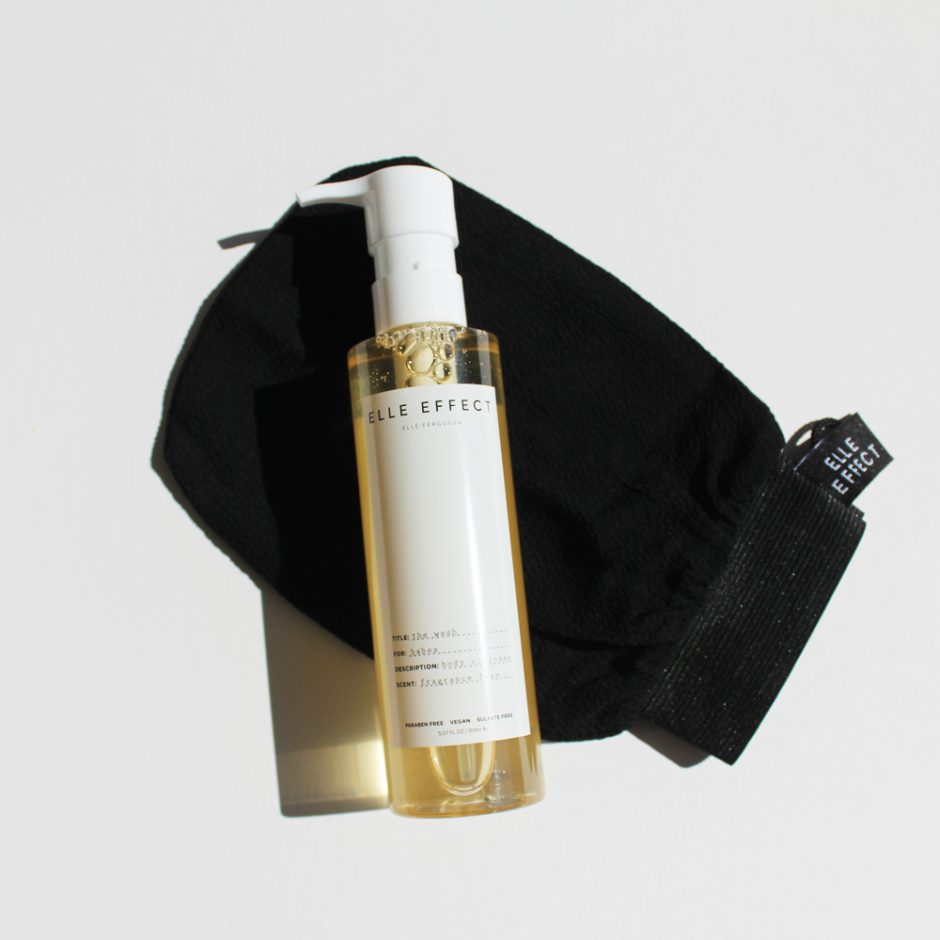 [/responsive]
The Verdict
If you’ve gotten to this point, you can probably guess what the verdict is. But in case I need to spell it out for you, this wash is a necessity in any self-tan kit. I cannot go without it.
What I would say, though, is that the mitt is also a necessary accessory to the effectiveness of the wash. So if you can get your hands on the combo, do. Forget your removal foams and body scrubs – this is the ultimate prep product.
If you’re a tanner, you need it. It’s as simple as that.
Get 20% off Elle Effect sitewide, plus if you purchase The Wash (on its own or in a combo) you’ll also receive FREE hair clips. Enter code: GP20. One use per person, code valid for 1 month. Ends 1 May 2020.
Have you tried The Wash by Elle Effect? Let us know your thoughts in the comments below.

 [/responsive]
 [/responsive]
 [/responsive]
 [/responsive]
 [/responsive]
 [/responsive]
 [/responsive]
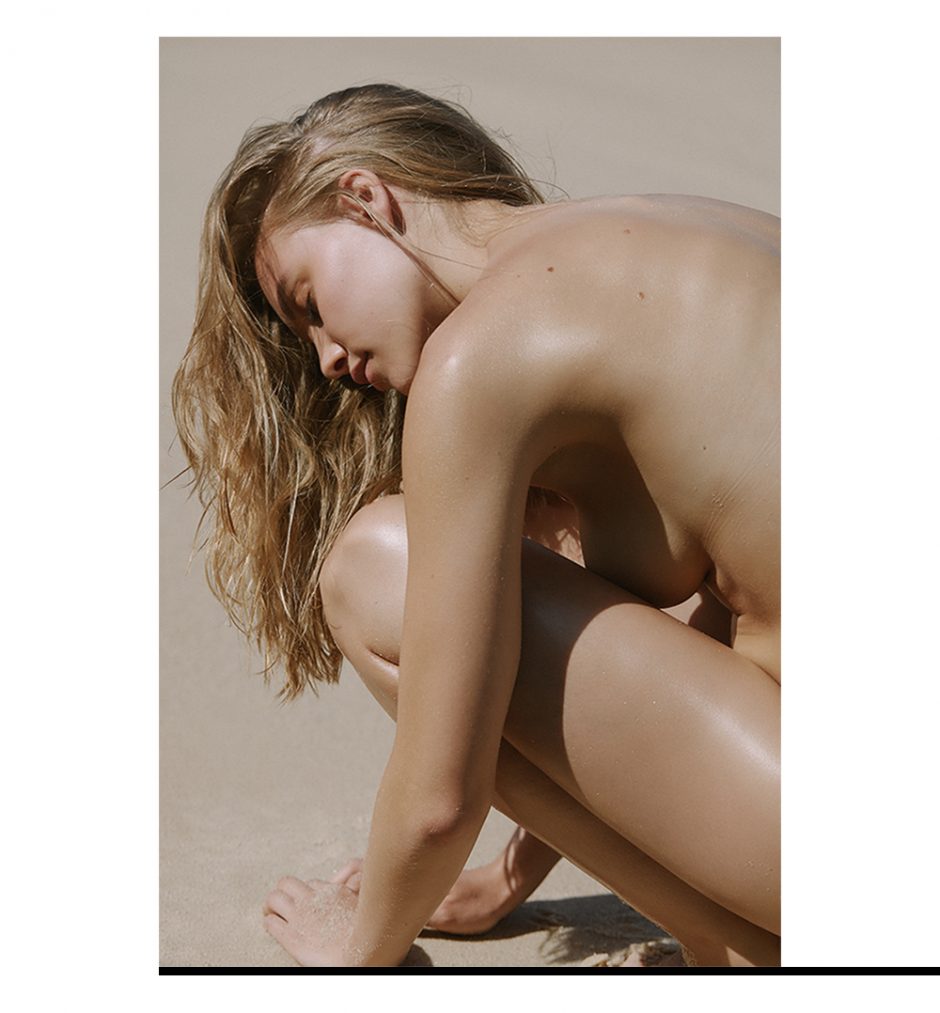 [/responsive]
 [/responsive]
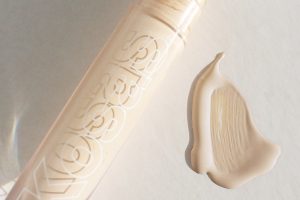
 [/responsive]

 [/responsive]
 [/responsive]
 [/responsive]
 [/responsive]
 [/responsive]