
How To Embrace Your Curls From A Serial Straightener
Turning over a new leaf…
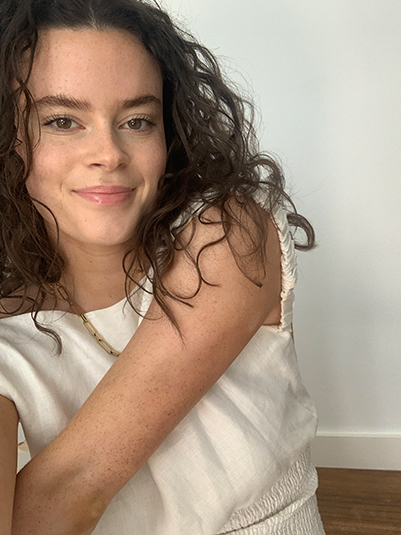
They say the first step to overcoming an addiction is admitting you have a problem. Well, take this as my admission. For years my poor hair has been straightened, scorched and burnt to within an inch of its life. Why? Because I didn’t like my curls.
For as long as I can remember my hair has been my biggest insecurity. Growing up, I would see my friends with long straight hair and be so envious that they could just wash, towel dry and be out the door — never having to second guess the way their hair was going to dry or whether it was going to look okay.
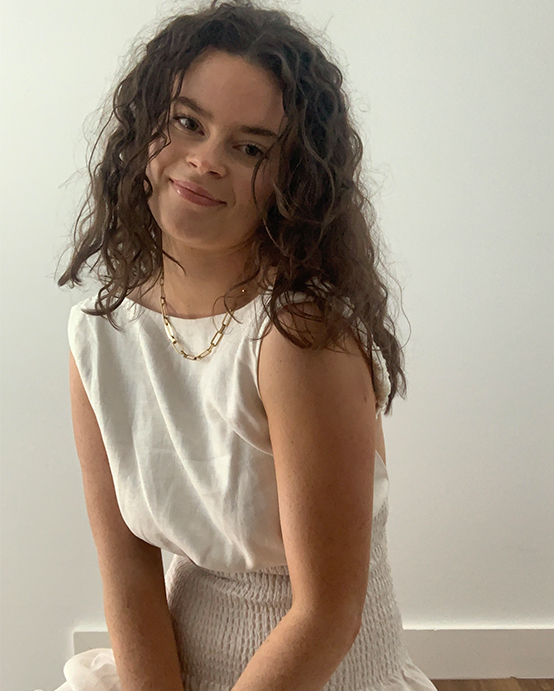
However, as I’ve grown up, I’ve learned that embracing what makes you unique is the best thing you can do (although, it’s a journey that I’m still on). And so began my journey to embrace the curls. Between products, techniques, accessories, special hair tools and everything in between, I went through all the motions that come with natural hair. I’m happy to say that after months of research, I finally have the routine down pat. So, without further adieu…
Step 1: The Clean
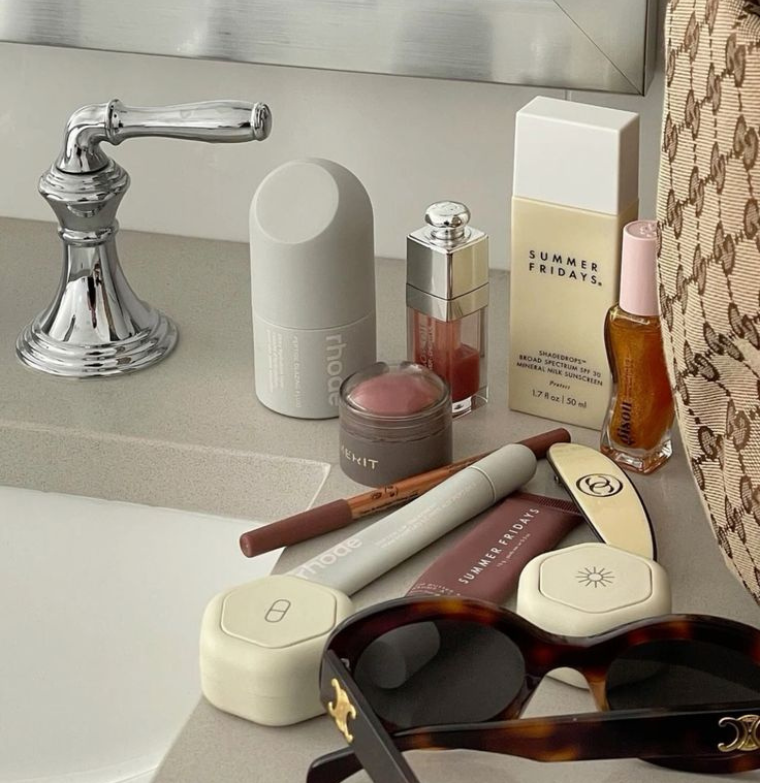
I’ll admit, I have never been one for high-end shampoo and conditioner. To me, all formulas were created equal so the $10 bottle for Woolies would serve me just fine. When my hair is straight, I can get away with it but when you want your curls to look their best, it’s worth investing in a formula that has great ingredients.
Particularly for those of us with curls, finding a formula specifically designed to nourish, moisturise and clean is imperative to a great end result. For me personally, I like my curls to be as frizz-free as possible and have rather thick hair so I usually opt for richer in-shower formulas.
Of all the ones I tried, the gold medal is awarded to the Davines Love Curl Shampoo ($38.95) and Conditioner ($38.95). Not only does this pair smell amazing, but they also tick every hair box I have: nourishing, hydrating and cleans without stripping my natural oils. I like to comb the conditioner through my hair in the shower (using my favourite Ullu Betty Basin Comb) and find this helps alleviate frizziness at my roots without weighing them down.
Step 2: The Wet Hair Products
When embarking on this journey, I had quite a naive thought that this process would be way quicker and easier than the wash, blowdry, straighten routine I had going on before. But making your curls look fresh and bouncy is just as much work. The second phase of the routine is the wet hair products. These will help to hold the curls in shape while your hair dries (they also help to reduce frizz and promote a nice shine).
Before applying said products, I like to squeeze excess moisture out of my hair with a cotton t-shirt (any old one will do). This helps to keep your curl pattern intact which gives you a more uniform look over all.
Then, the products go in. I start with the Evo Total Recoil Curl Definer Cream ($34) which helps to separate and define the curls and then add in the Philip Kingsley Curl Activator Defining Cream ($46.50) which is more of a gel consistency to really hold the curls in place.
I like to warm the product up in my hand and then scrunch throughout the hair. Pro tip: make sure you cover every area of hair with the product. It may seem like you’re using an excessive amount, but this will help keep those curls under control.
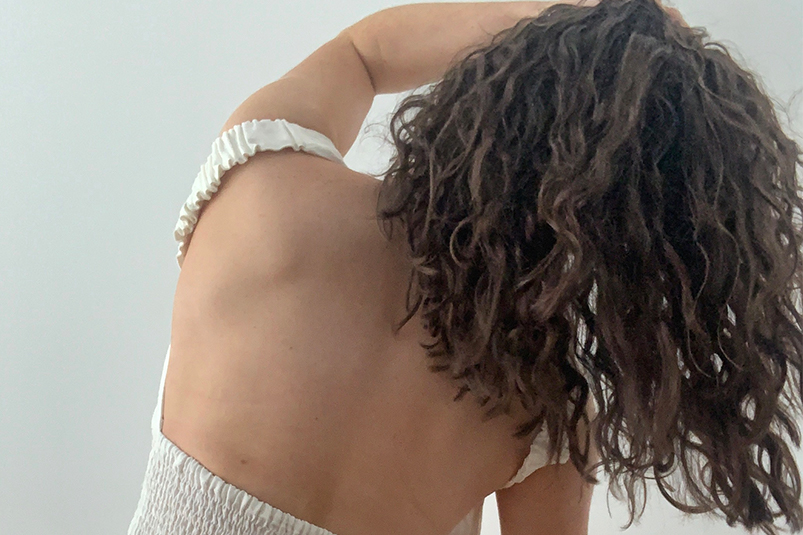
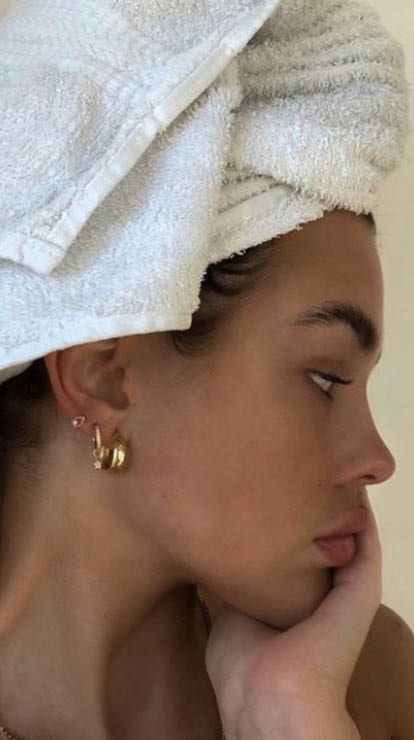
Step 3: Plopping
Although the name can be slightly misleading (and alarming) when taken out of context, this is a technique strictly for your hair. One that is rather difficult to describe in words (these pictures will help) the technique involves wrapping your hair up in a cotton t-shirt to let your curls dry and ‘set’.
They recommend leaving your hair in the plop for at least 20 minutes and then diffusing your hair dry or letting it air dry. I usually opt for the air dry alternative because I find it stops me from touching my hair too much, which is a big no no as it can disrupt the curl pattern.
Sure, the people you live with might think you’re nuts but hey, you’ll have a great hair day tomorrow. P.S. I can’t tell you exactly where I got my plopping t-shirt from but I believe it’s an XXXL Lowes special that I’ve had since I was 12. So, in a word: chic.
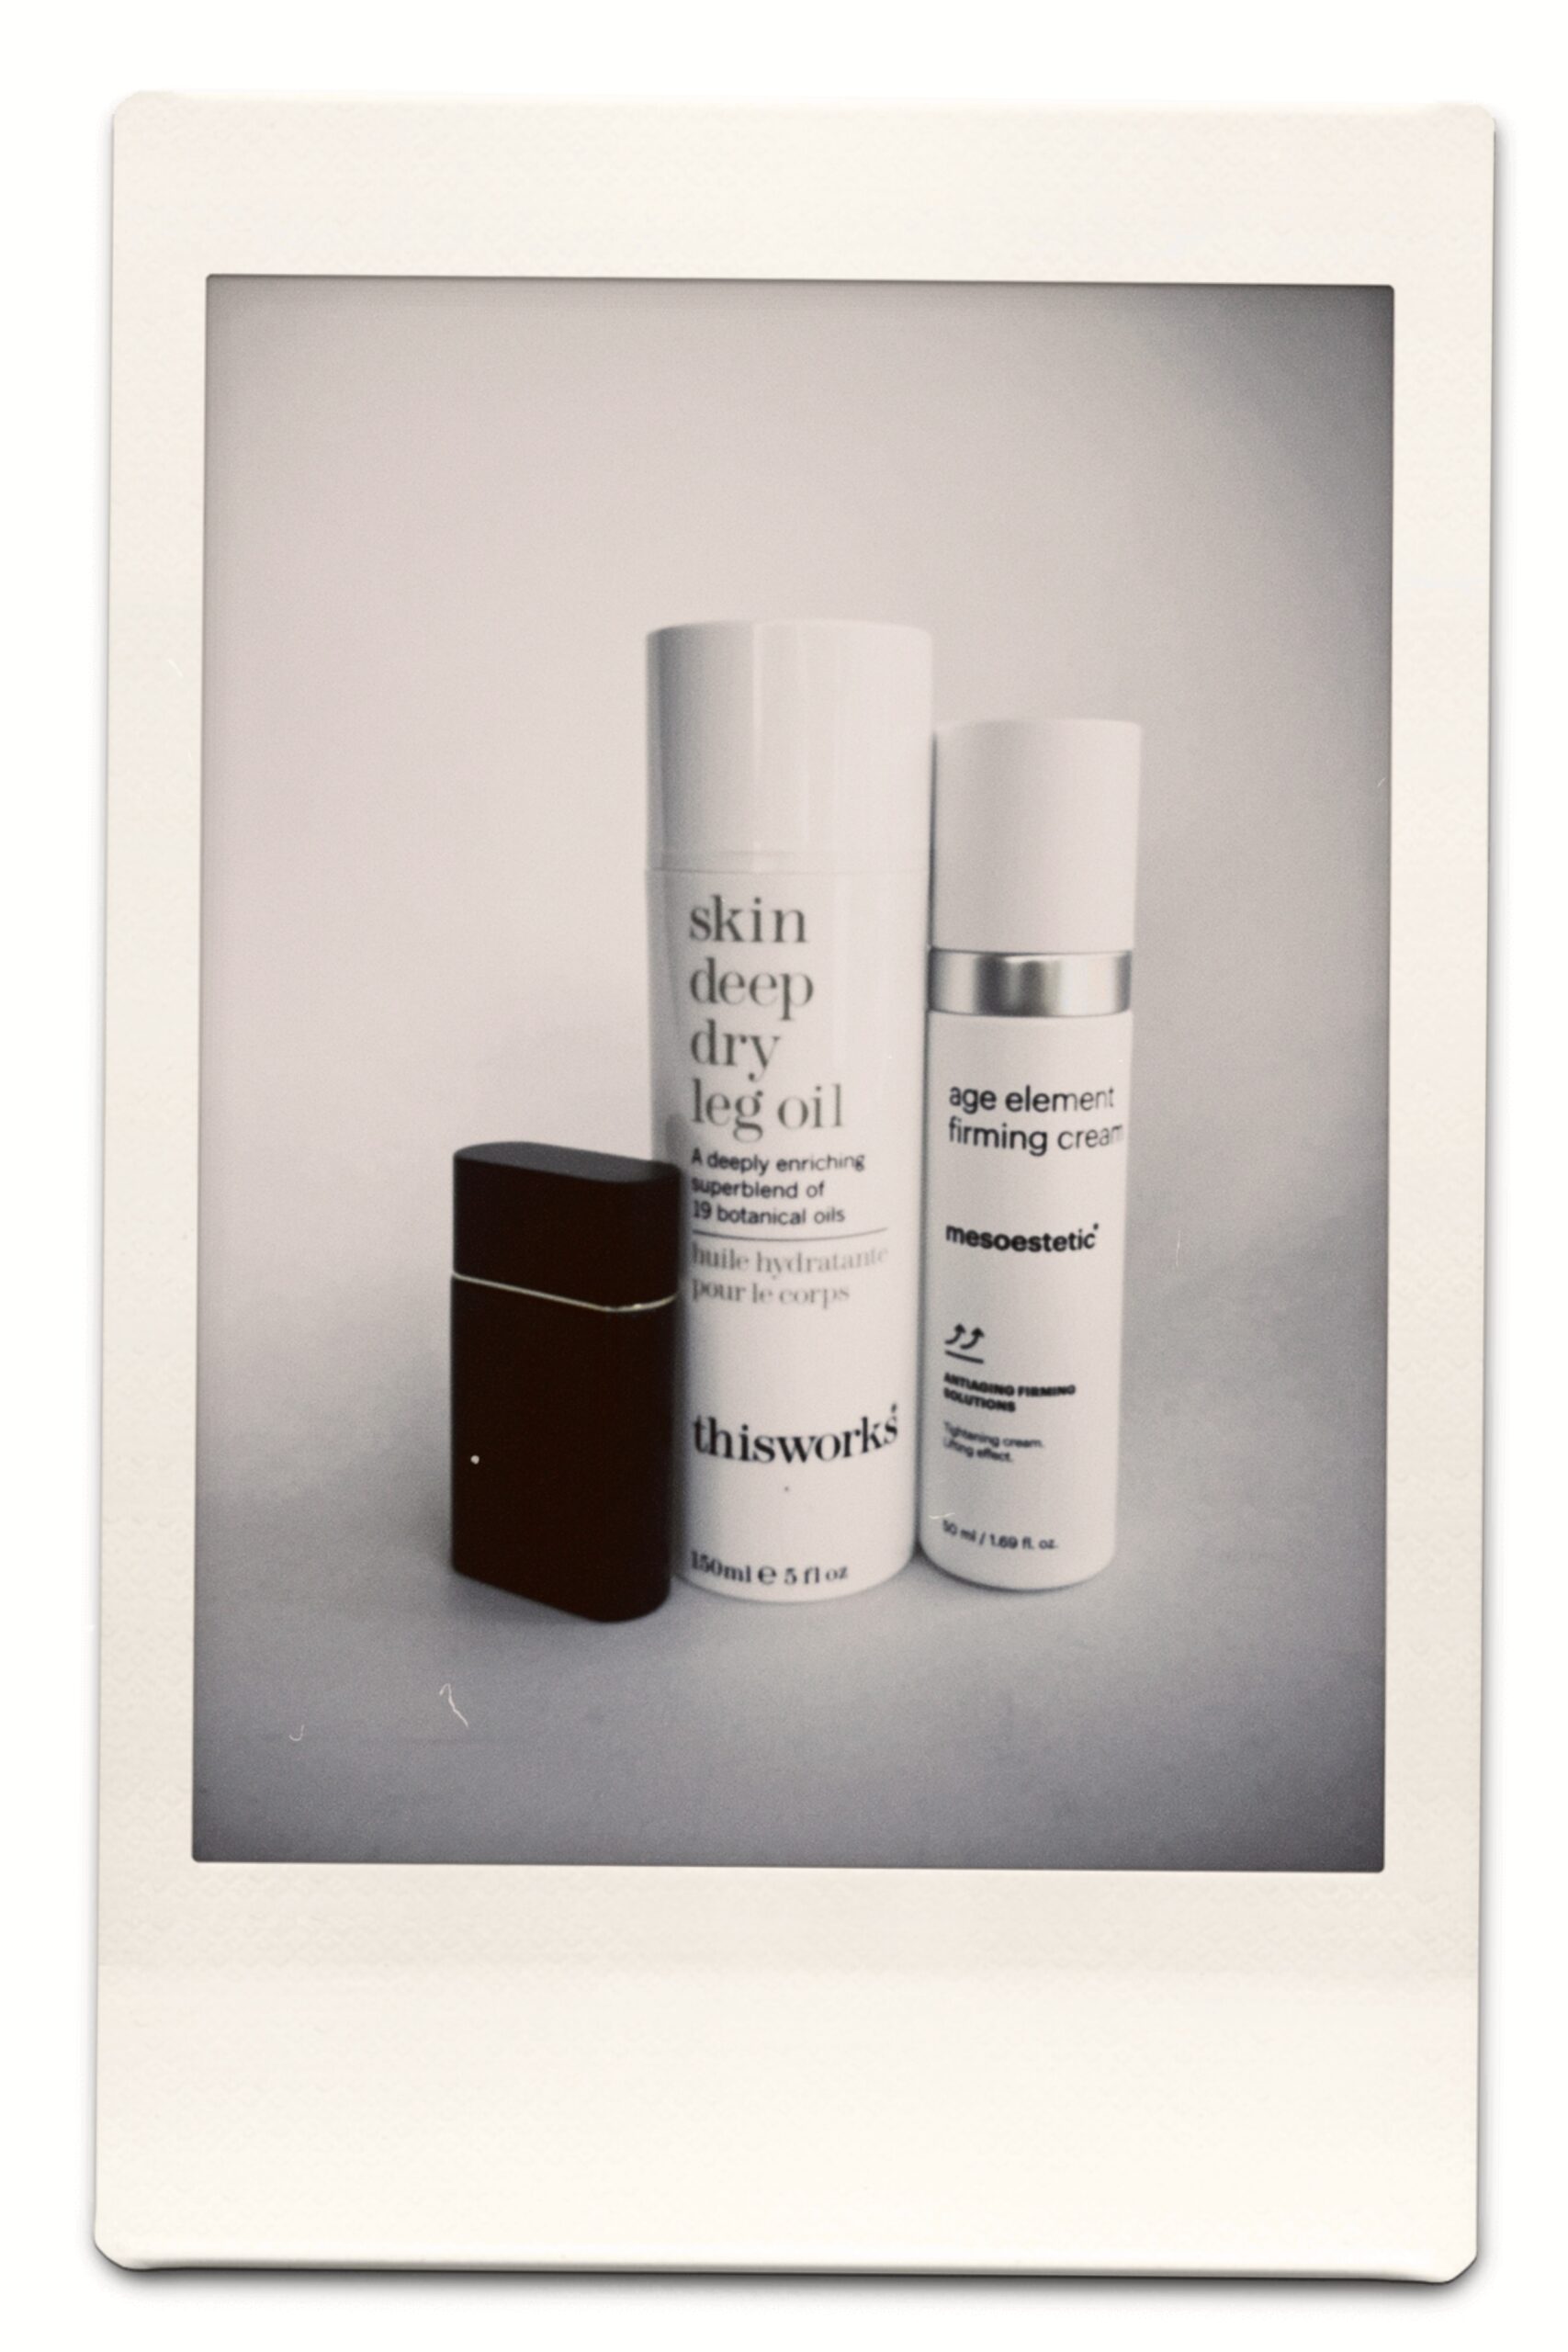
Step 4: Dry Hair Products
We’re nearly there, I swear. This is the cherry on top for your curls. Once my hair is completely dry I like to add in a hair oil to moisturise and give shine to my hair. If you have particularly fine hair, I would recommend skipping this step as it can weigh your hair down. But, if you’re like me and have enough hair for three people, an oil is essential.
I like many different oils and am not particularly loyal to any one product. The Kérastase Elixir Ultime Beautifying Hair Oil ($59) is great because it doesn’t leave your hair greasy or weighed down and I have also been loving the Oribe Gold Lust All Over Oil ($92) which doubles as a body oil as well (win). If you’re looking for a more affordable option, the L’Oreal Paris Elvive Extraordinary Oil Treatment ($9.97) is also excellent.
Step 5: Sleeping
When committing to all that work, you want the curls to last at least two or three days. My recommendation? Invest in a silk pillowcase. My favourite is from Slip ($95) and it’s great because it works at keeping your hair shiny, frizz-free and defined for days on end. You can thank me later.


Comments
The wonderful content in this article provide us information regarding the curly hair routine. This article is one of the perfect articles which will attract everyone. I enjoyed a lot while reading this article and would suggest others too and get the best options.I have also found this resource Luxeaurahair.com useful and its related to what you are mentioning.