
5 Steps To Your Best-Ever Fake Tan
Life’s better with a tan — a fake tan, that is.
A tint of colour adds glow and gives tired, dull skin the appearance of health — meaning, you’ll look like you’ve just come back from a month-long vacay on the Amalfi Coast, as opposed to being holed up in the office thanks to the pre-Christmas rush (the struggle is real).
It clearly goes without saying that sunbathing is completely off the table. Fortunately for us, sunless tanners have vastly improved over the last few years (seeya, patchy orange-based tan, hello, long-lasting, golden colour).
Regardless, fake tan is a notoriously tricky category to navigate — there are a world of errors that can make the difference between a great tan and a bad tan. But fret not, for we have called on the experts to share their top tips for the ultimate at-home tan.
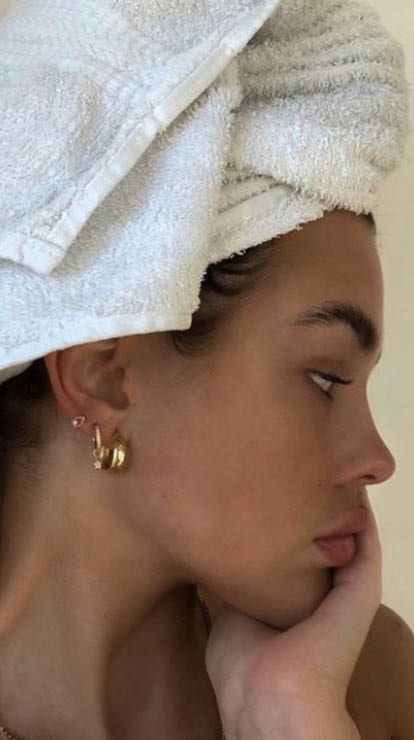
Choose your weapon
Take a quick look down the tanning aisle in your local Priceline and you’ll find an unprecedented number of tanning formulations, undertones and textures. If you don’t know where to start, the amount of choice can be overwhelming.
“Gradual tanners are a great starting point for someone who has never tried tanning before, or for someone who just wants a natural, sunkissed glow,” says Gina Cook, Ella Baché Skin Expert. (We love Tan-Luxe’s Illuminating Gradual Tan Lotion). If you’re more adept at the self-tan game? “Tanning creams are one of my favourites, as well as a tanning mousse.”
While mousses are great as they are quick-drying, steer clear if you have a drier skin type, suggests St. Tropez Tanning Expert, Jayne Cooper. “Instead, I recommend lotions or a gel-based option, such as St. Tropez’s Self Tan Purity Gel, to give you that added hydration. Mists are also quick to use and get to those hard to reach places.”
Alright, we’ve got the formula down. As for the level of colour? “Look to the DHA percentage,” says Cook. “It will help to determine the depth and strength of your tan — the higher the percentage, the deeper the tan.”
“It’s also worth noting the pH level of the tanning formulation — alkaline pH formulas tend to look more orange and more acidic formulas avoid this,” shares Cook. To keep the undertone looking natural, opt for more ash-based tanners if you’re fair-skinned, green-based formulations for light to medium skin tones, and purple-based options for those with medium to dark skin tones.
[responsive imageid=’35020′ size1=’0′ size2=’641′ size3=’1024′]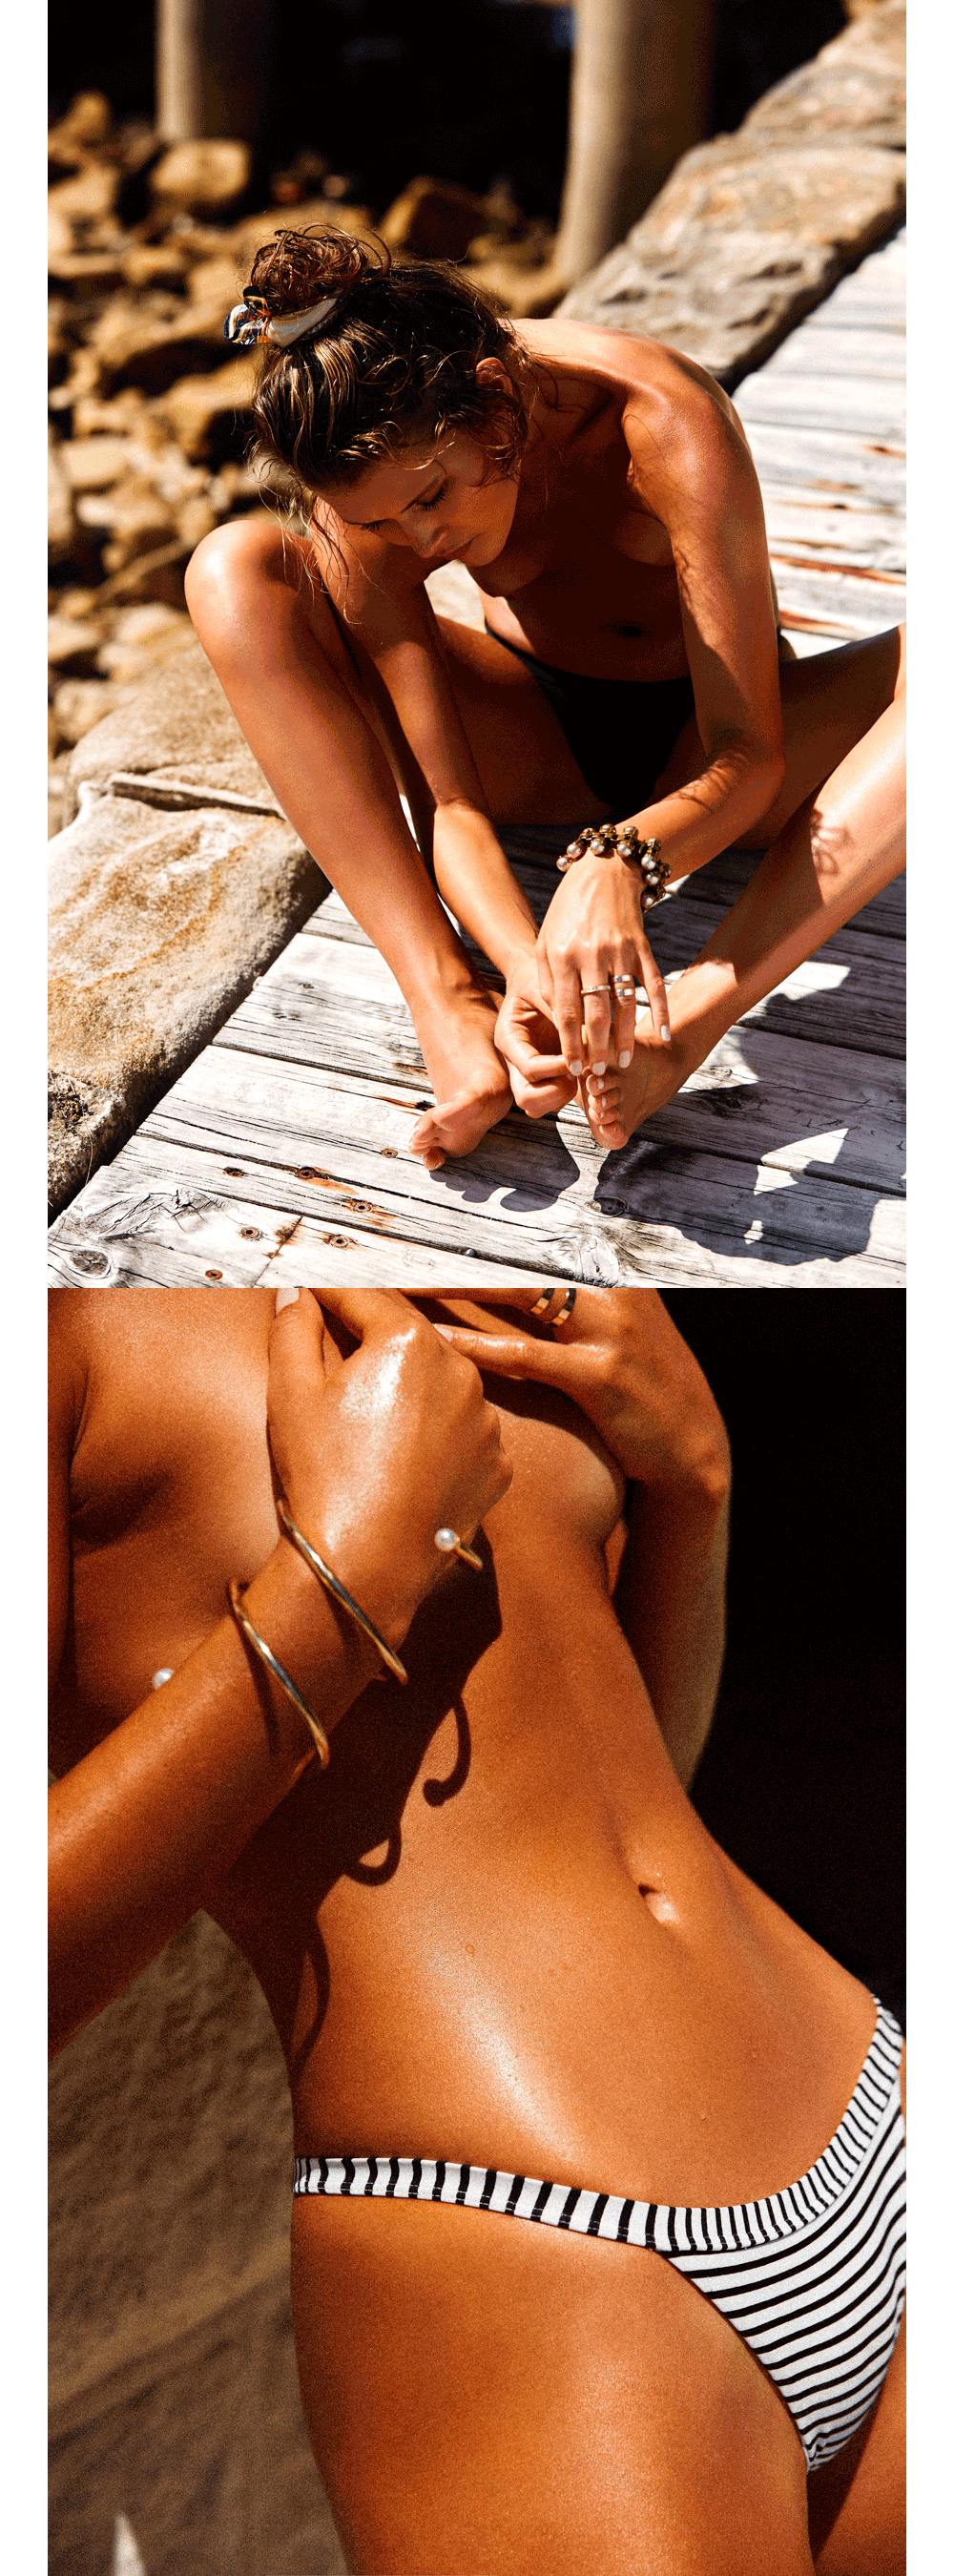 [/responsive]
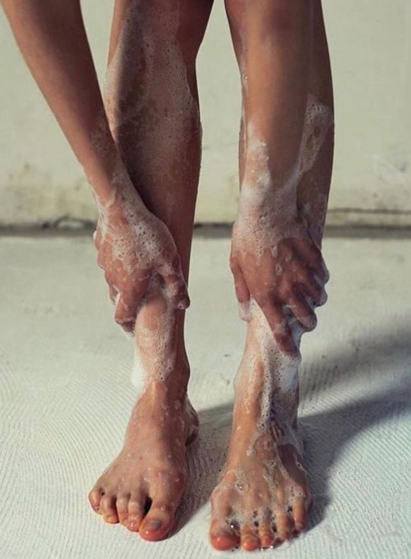
Yes, preparation truly is key…
We all know the number one rule touted by tanning experts: that the right skin prep is crucial to a great fake tan. Well, we’re sorry to inform last-minute tanners and prep-procrastinators (guilty) that this advice stills very much holds true.
“The key to a flawless, long-lasting tan is definitely the right preparation,” shares Cooper. “Skin should be exfoliated and hair removal is undertaken at least 24 hours prior (waxing, 48 hours prior) to ensure you have a good, even base, pores are closed and there’s no skin irritation.”
Cook agrees that ample exfoliation is needed. “A lot of people don’t spend the extra time exfoliating knees, elbows and ankles, says Cook. “Additional to your body exfoliator, I recommend placing a small amount of heavier-duty chemical exfoliant such as our Resurfacing Peel on these areas pre-tan. AHAs are stronger at breaking down the skin on these areas where the skin tends to be thicker — this will help to ensure an even tan.”
While hydrated skin yields better results, resist applying moisturiser on tanning day — especially those that are oil-based. “They create a film on the skin, preventing the tan from developing,” explains Cook.
That’s not all you should avoid pre-tan: “Make sure your skin is free from any moisturiser, aftershave, deodorant and essential oils and ensure your skin and hair is dry before tanning,” adds Cooper.
It’s tan time
Now, for the main event — it’s tanning hour. Instead of cherry-picking the advice, we’ll give you the experts’ top tanning tips to you straight.
- “For optimum results and minimal product wastage, use a tanning mitt to protect hands from unwanted stains and to achieve an even finish,” recommends Cook. “Compared to your hand, a mitt has a much larger surface area, which speeds up the application process and makes reaching your back a lot easier. To fix any staining, take a slightly damp sponge with a little bit of tan on and blend into the problem area, patting it down to help fix any streaking.”
- “Apply fake tan in an upwards, sweeping movement ensuring you overlap each area,” says Cooper. “To achieve a flawless finish on the hands, ensure you’ve exfoliated them well and just before tanning, apply a small amount of moisturiser to hands, elbows, knees and feet and any other dry patches — this will ensure the tan doesn’t overdevelop. You only want to apply a small amount of tan to the hands and feet. Apply your tan with a tanning mitt to the arm and then lightly glide the excess tan onto the hands and don’t forget to claw them to make sure you get into the creases. Clean the palms of the hands, finger and toenails with a wet wipe and apply a small amount of moisturiser to the inside wrist area to give a seamless finish and you can repeat this on the feet.”
- “After tanning drier spots (such as elbows, knees and feet), buff these areas with a mitt of soft flannel and add a little more moisturiser to blend the tan,” suggests Cooper. “I also add a little moisturiser to the inside wrist area after tanning to give a seamless finish.”
- “Most good quality tanning products these days allow you to wash off after two to four hours — I don’t recommend sleeping in your tan overnight as it can come out patchy in the morning,” shares Cook. “With the advancements in tan technology, mousse tans are great because you can put them on in the morning, go about your day and wash off at night (just don’t wear white clothes that day). Mousse tans also dry quickly so if you’d prefer, you can put them on early at night and wash them off after a couple of hours before bed. If you do want to apply or sleep in your tan overnight, is to use a single doona cover and sleep inside it to prevent transferring any fake tan to your sheets.”
- “It almost goes without saying, but while your tan is on the skin developing, wear loose dark clothing; do not get the skin wet and avoid exercise,” says Cooper. “Our tans have minimal transfer but you can apply a small amount of translucent powder to the areas you sweat — this is a good tip for anyone who goes to the gym as well.”
[responsive imageid=’35021′ size1=’0′ size2=’641′ size3=’1024′]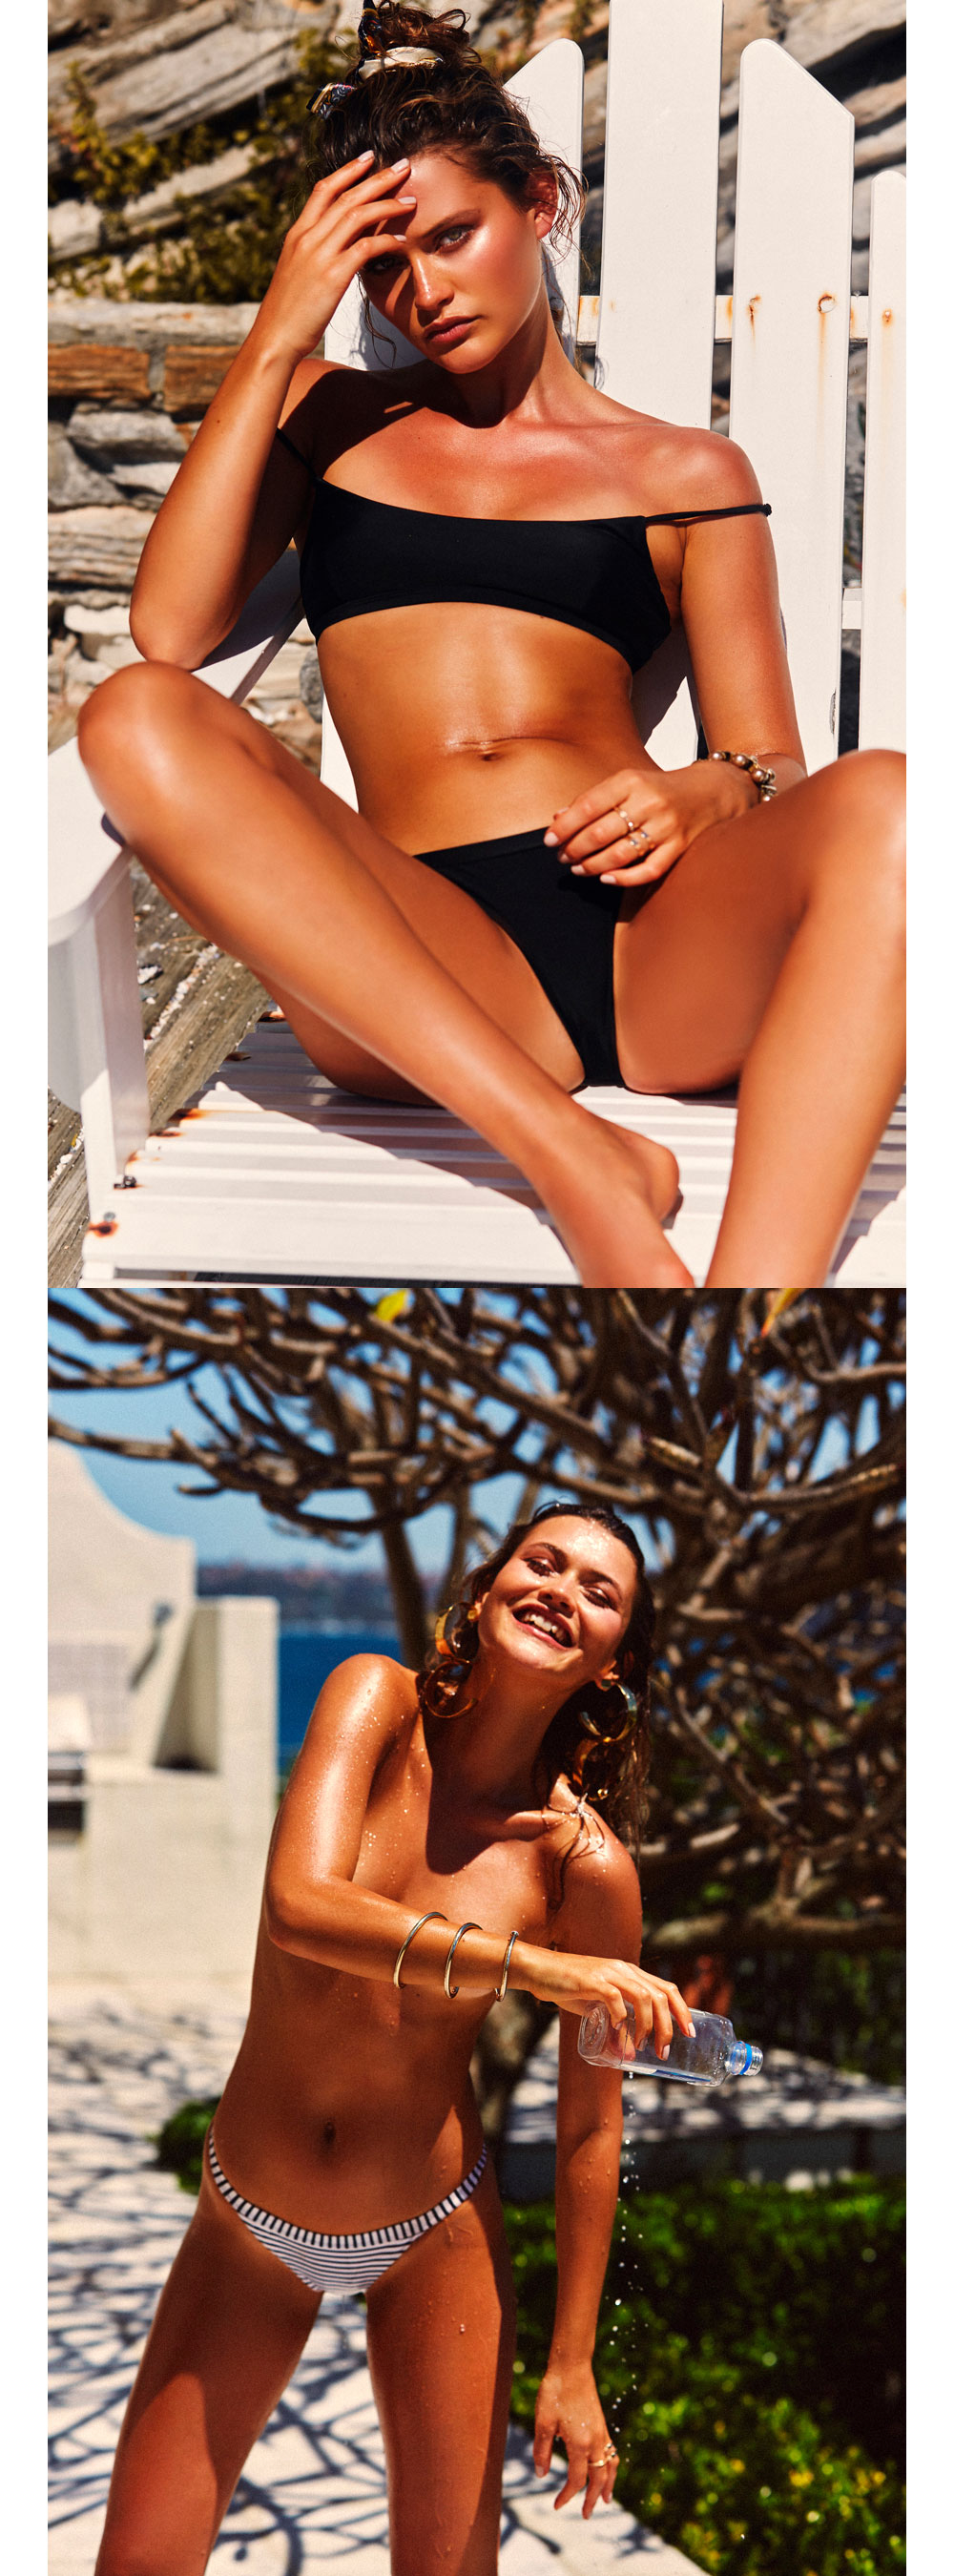 [/responsive]
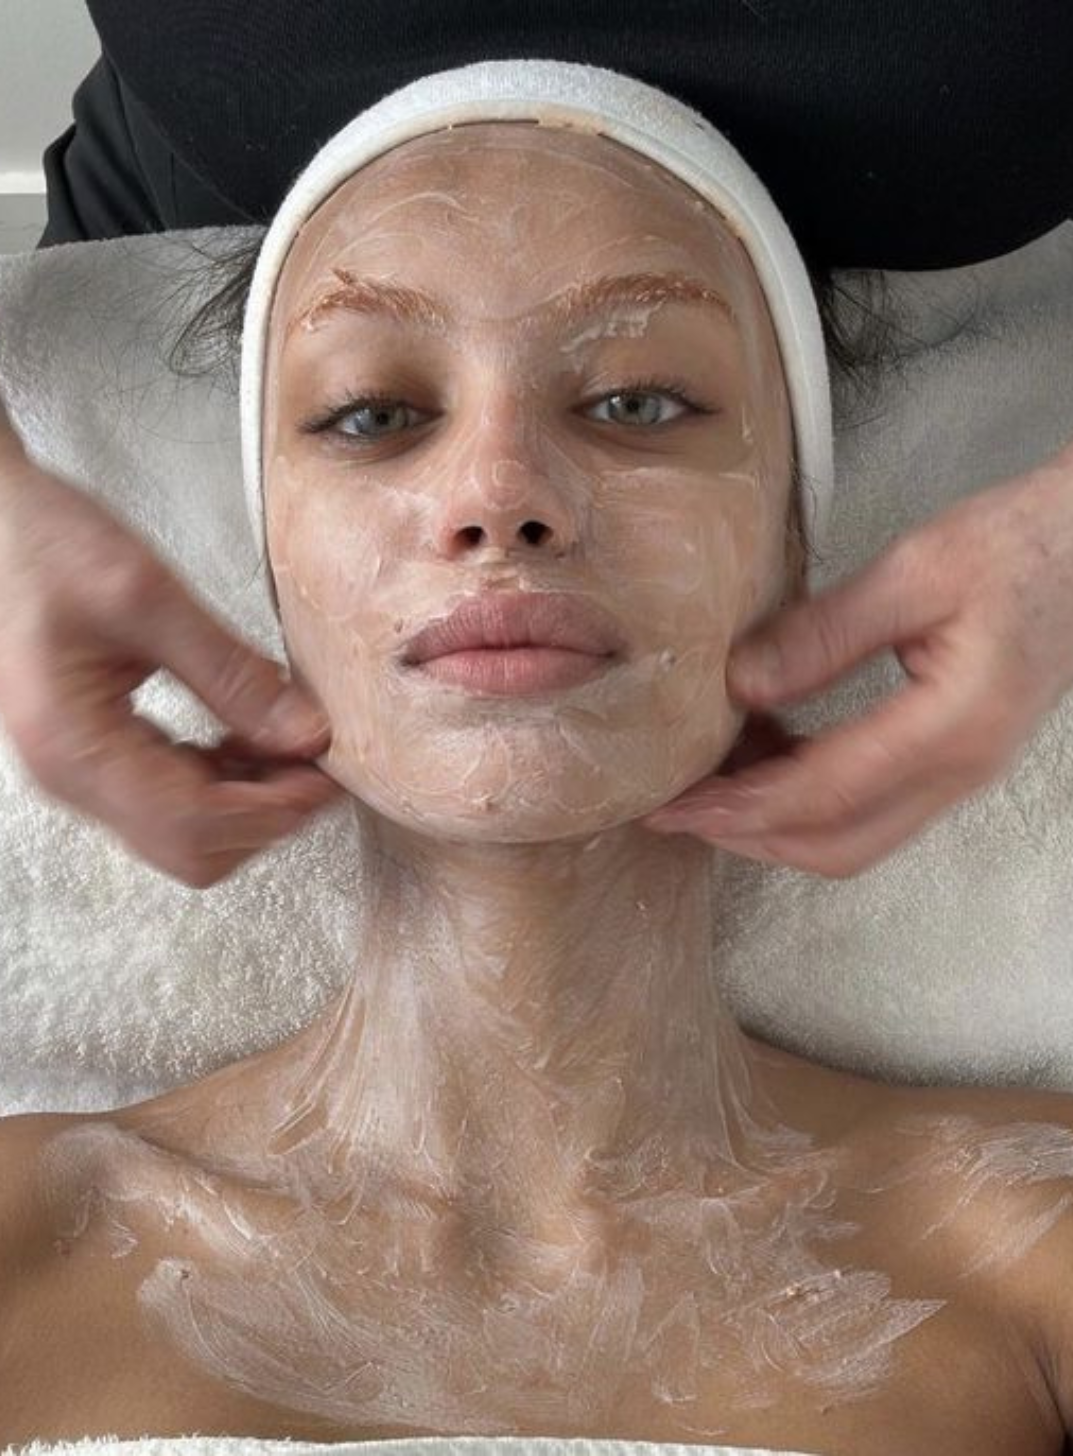
Face the facts
With the growing prevalence of face tan serums, concentrates and mists, should you bother using a separate self-tanner for your face? The short answer: yes.
Why so? “The skin on your face is so much more sensitive and thinner than the rest of your body, so it’s important that your tanning product reflects this,” explains Cook. “I always suggest purchasing a separate face tan rather than using body-specific fake tan, as it can often dry out your skin — which is the last thing you want before a big event!”
Cooper also encourages using a separate face tanning product, given that they apply more evenly and tanners run less risk of going overboard (we’ve all been there). “St. Tropez has specifically designed formulations to use on the face and I would always recommend these; they don’t clog pores and give a natural finish,” says Cooper. “I love the Self Tan Purity Face Mist, it is ultra lightweight and is infused with hyaluronic acid for additional hydration.” Our other top face-tanning picks? James Read H2O Face Tan Mist and ModelCo Tan Water — both of which are colourless and provide a seamless, healthy glow.
Consider your post-tan regime
So, you’ve prepped like a pro and tanned according to expert guidelines. However, a good tan doesn’t stop there. What you do post-tan can help it last longer and fade more evenly.
“When rinsing off your tan in the shower, I would always recommend warm water to shower as hot water can dry your skin and the key to a longer-lasting tan is keeping the tan hydrated and moisturised,” says Cooper.
After rinsing, the colour will continue to develop for the next few hours, so treat skin with caution. “Post-shower, pat dry your skin with a towel instead of rubbing (which can cause premature fading) and moisturise straight after jumping out of the shower,” recommends Cook.
Keeping your skin hydrated is essential to ensuring a longer-lasting tan that fades evenly — provided you’re using the right moisturiser. “Some moisturisers can contain physical or chemical exfoliants (like AHAs, BHAs, as well as retinol), which will prematurely wear away your tan,” shares Cook. (Yet another reason to add a separate face tan to your regime, as they are easy to reapply.) “Fragrance contains alcohol which will also affect your tan, so spray your favourite scent on your clothes and hair instead, and opt for fragrance-free formulations.”
Cooper’s last word of advice? “While moisturising is key to prolonging your tan, make sure to avoid hot showers and swimming pools (the chlorine can lead to a faster fade), and gently exfoliate the skin every two to three days to get a nice, even fade.”
Tell us, what are your go-to fake tanning products? Which tips are you going to implement during your next self-tan?


Comments