
GIF TUTORIAL: CONTOURING


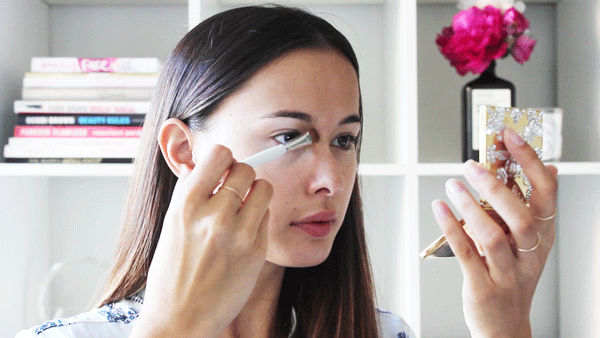
Start with the perfect base. Here, I’ve used ModelCo Miracle Veil as a primer and to eliminate any redness. Next, I disguised the signs of a bad night’s sleep with ModelCo Powerstick Duo Concealer under the eye area. And to finish, I applied ModelCo BB Plus Cream, for a light but even coverage.

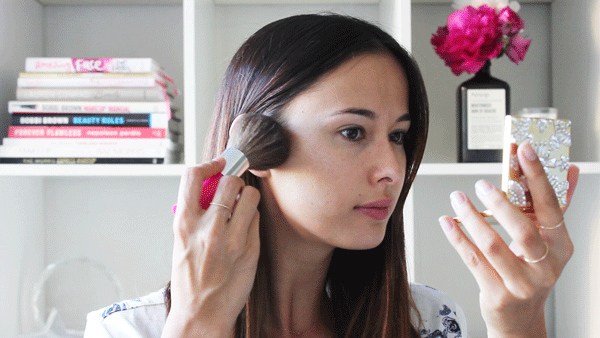
Use a matte (not shimmery) bronzer like ModelCo Bronze in ‘Matte’ and apply it to a small blending brush. Dust off any excess. Then, sweep your bronzer from the inner corner of the brow and down the sides of the bridge of the nose. You can also create more definition with your eyes by applying bronzer lightly to the eyelids.

Next, take a larger bronzing brush and apply your bronzer with a light hand just underneath your cheekbones. If you aren’t 100 per cent sure where your cheekbones are, suck in your cheeks and they’ll become more prominent.
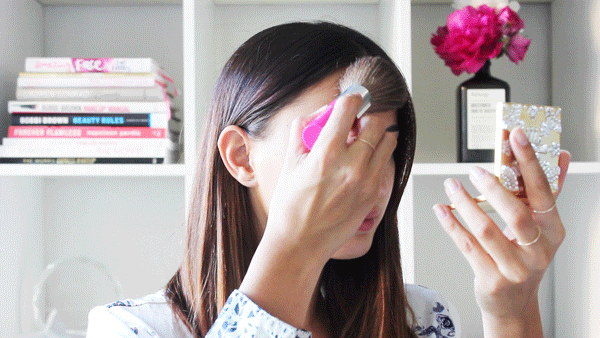
To finish, don’t forget to add shading to the hairline and just under the chin – this will prevent your cheek area from looking gaunt.

Don’t be afraid of ‘highlighters’ or ‘illuminators’ – they’re not part of the glitter family. Instead, highlighters consist of reflective micro-pigments, which light bounces off beautifully. They create a radiant, healthy-looking glow and can either be applied directly onto the skin or mixed in with your foundation for an all-over dewy finish.
Take an illuminator and apply a little onto your fingers then rub together – this will warm the product up so it practically melts into your skin, rather than look like it’s sitting on top. Now, you want to dab your highlighter onto the high points of your face: the upper cheekbones and brow bones.
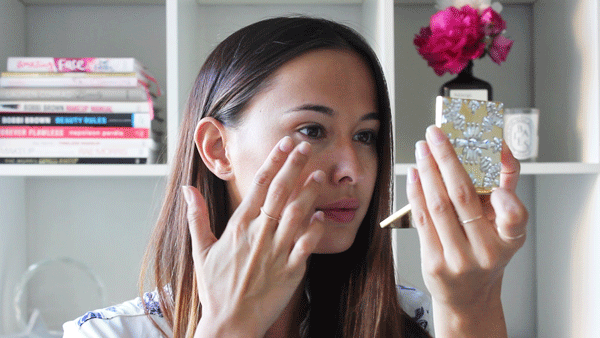
Along the bridge of the nose…
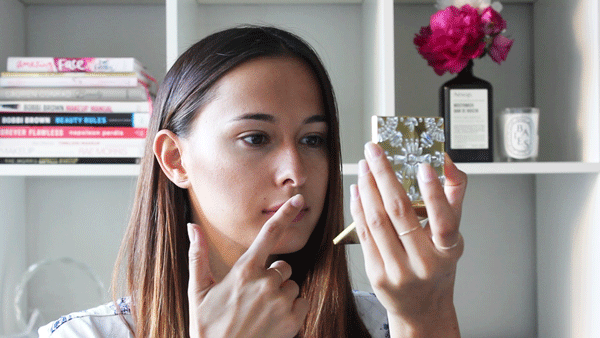
…and just above the top lip on the cupid’s bow. This will also give the illusion of a fuller pout.
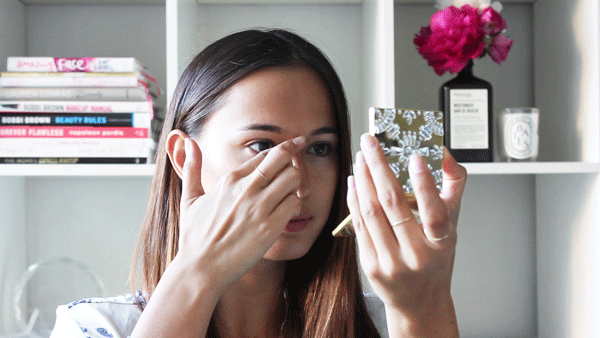
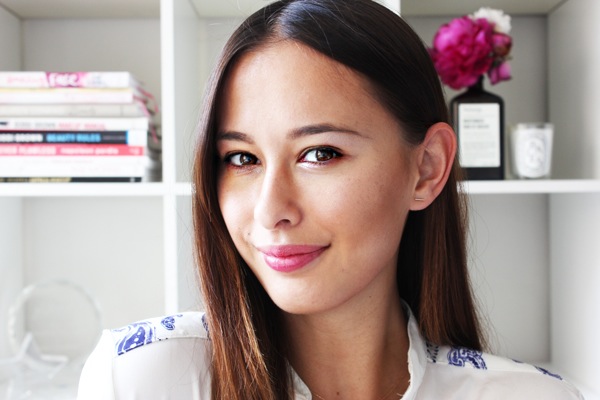
To finish, dab your illuminator onto the inner corners of the eyes – this will make you look fresh and awake. Slick on a couple of coats of black mascara, a sheer pink lip colour and your contoured look is complete!
Photos & GIFS: Gritty Pretty for ModelCo

Comments
I tend to apply my nose contour a tad different to how you've shown but this looks really lovely. I will have to give it a go on myself next time :)